
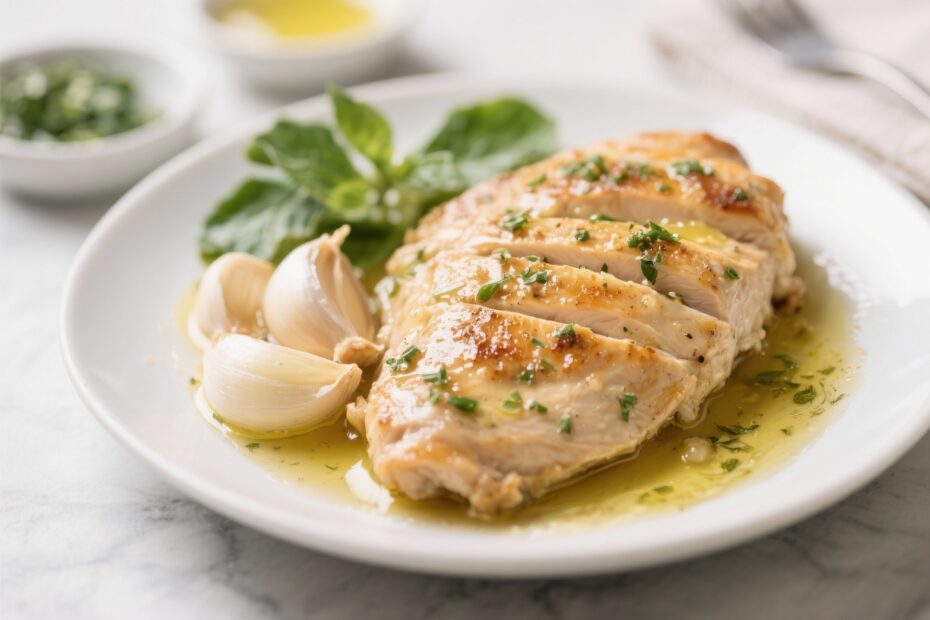
If you’re eating low-carb and want something satisfying, this garlic butter chicken hits the spot. It’s rich, tender, and full of bold flavor without piling on the carbs. You get crispy golden chicken with a silky butter sauce that tastes like it came from a restaurant.
Best of all, it cooks fast and works for weeknights. Keep it simple, keep it delicious, and keep it keto-friendly.
What Makes This Recipe So Good
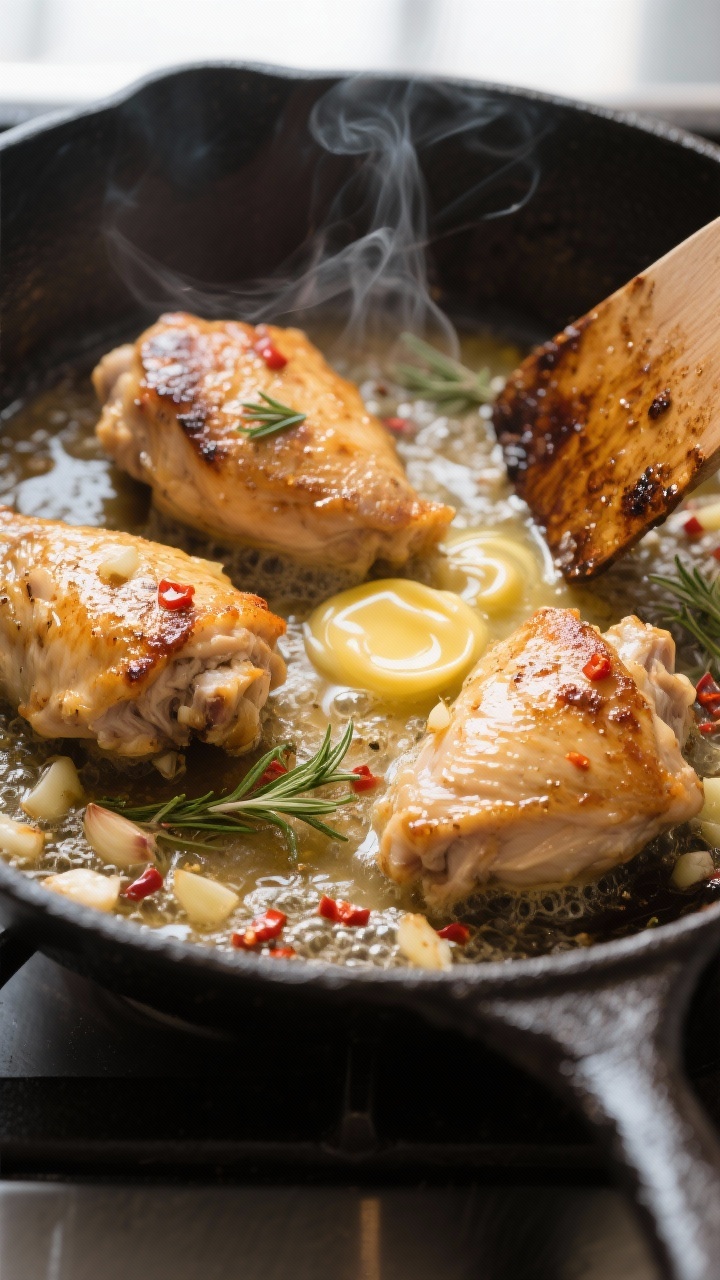
- High-fat, low-carb balance: Butter, olive oil, and chicken thighs keep you full and steady on keto.
- Quick and easy: Most of the work happens in one pan, and it’s done in under 30 minutes.
- Big flavor, simple ingredients: Garlic, lemon, and herbs make a classic sauce that never gets old.
- Meal-prep friendly: The chicken reheats well and the sauce stays tasty for days.
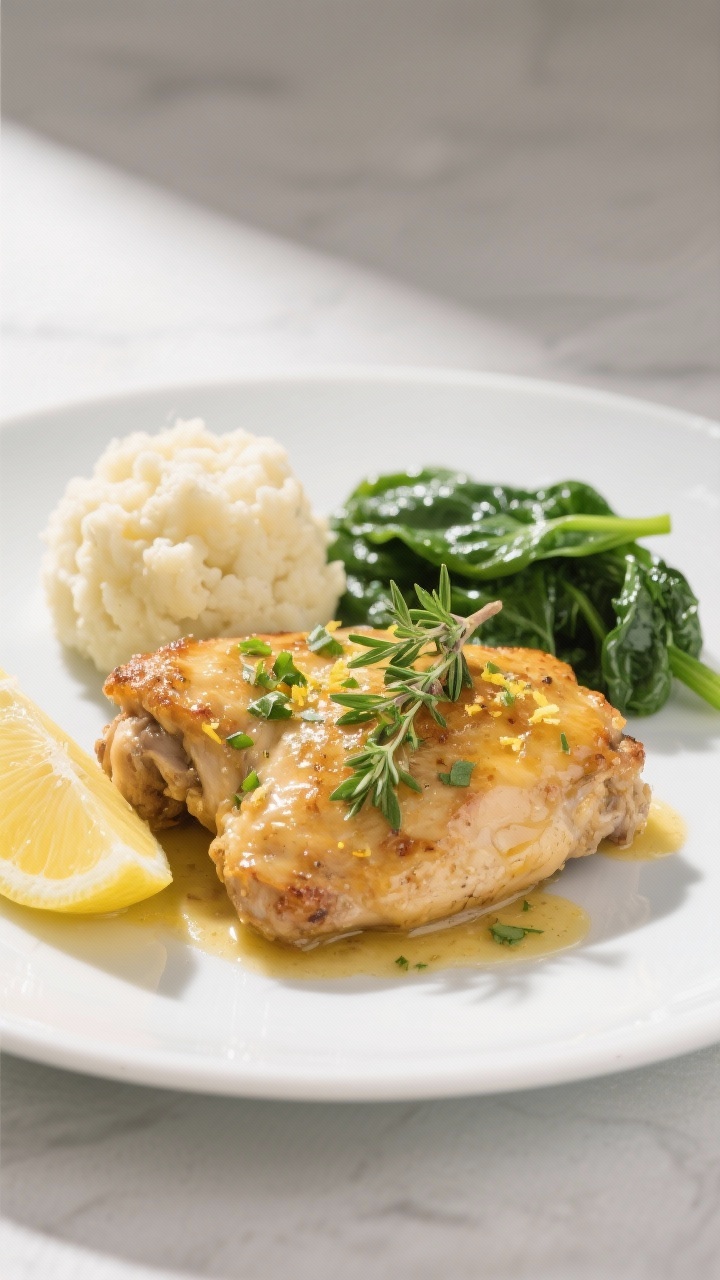
- Flexible: Works with chicken thighs or breasts, and pairs with keto sides like cauliflower mash or sautéed greens.
What You’ll Need
- 1.5–2 pounds boneless, skinless chicken thighs (or breasts, pounded to even thickness)
- 1 teaspoon sea salt
- 1/2 teaspoon black pepper
- 1 teaspoon paprika (smoked or sweet)
- 1/2 teaspoon garlic powder
- 2 tablespoons olive oil (or avocado oil)
- 4 tablespoons unsalted butter, divided
- 4–6 garlic cloves, minced
- 1/2 teaspoon red pepper flakes (optional, for a little heat)
- 1/2 cup low-sodium chicken broth
- 1 tablespoon fresh lemon juice (plus extra wedges for serving)
- 2 tablespoons chopped fresh parsley (or 1 teaspoon dried)
- 1 teaspoon fresh thyme leaves (or 1/2 teaspoon dried)
- Lemon zest, to finish (optional)
How to Make It
- Season the chicken: Pat the chicken dry. Mix salt, pepper, paprika, and garlic powder, then rub it all over the chicken.
- Sear it: Heat olive oil and 1 tablespoon butter in a large skillet over medium-high heat.
Add chicken in a single layer and sear 4–5 minutes per side until golden and cooked through (165°F/74°C). Transfer to a plate and tent with foil.
- Make the garlic butter base: Lower heat to medium. Add 2 tablespoons butter to the skillet.
Stir in the minced garlic and red pepper flakes. Cook 30–60 seconds until fragrant, not browned.
- Deglaze: Pour in chicken broth and lemon juice. Scrape up browned bits from the pan with a wooden spoon.
Simmer 2–3 minutes to reduce slightly.
- Finish the sauce: Stir in thyme and parsley. Swirl in the final tablespoon of butter for a silky finish. Taste and adjust salt and lemon.
- Coat the chicken: Return chicken to the pan and spoon sauce over the top.
Let it simmer 1–2 minutes so the flavors meld.
- Serve: Top with extra parsley and a little lemon zest if you like. Spoon sauce over each piece when plating.
Keeping It Fresh
- Fridge: Store in an airtight container for up to 4 days. Keep the sauce with the chicken to prevent drying.
- Freezer: Freeze for up to 2 months.
Thaw overnight in the fridge for best texture.
- Reheating: Warm gently on the stovetop over low heat with a splash of broth. Microwave in short bursts at 50–60% power to avoid overcooking.
- Meal prep tip: Portion with a keto side like sautéed spinach or roasted broccoli. Pack extra sauce in a small container to drizzle when serving.
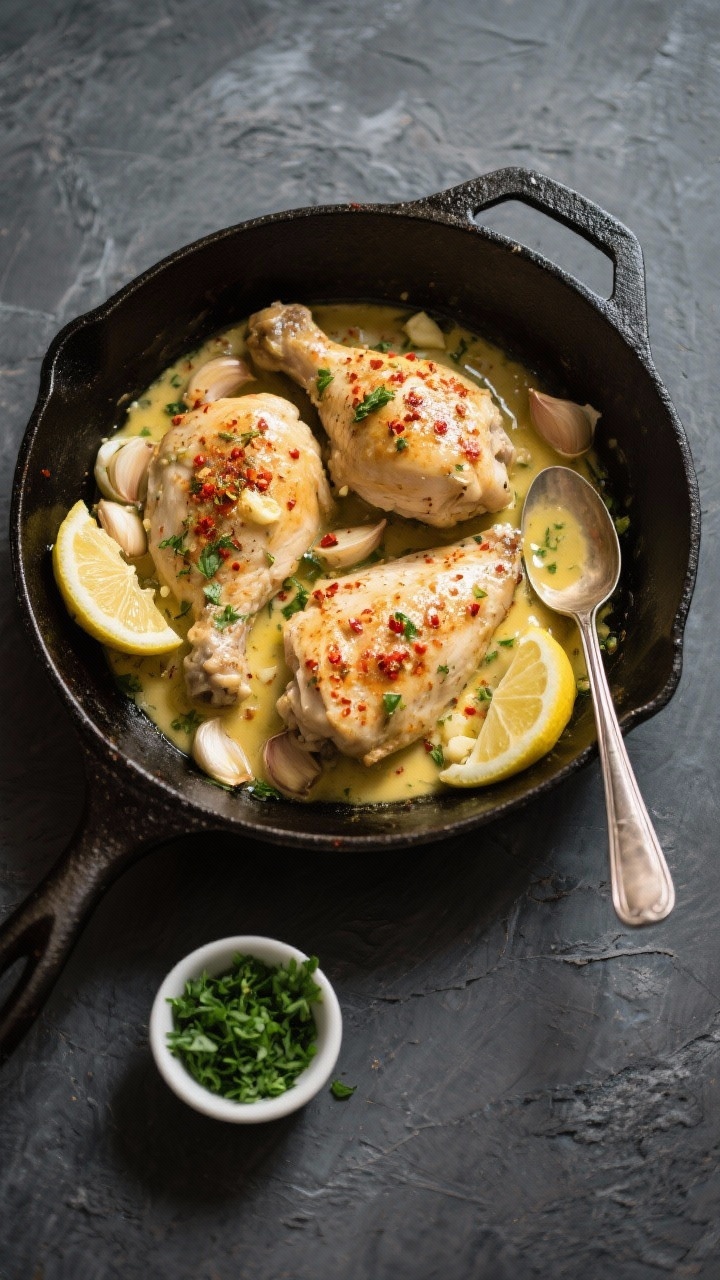
Why This is Good for You
- Supports ketosis: Low in carbs and rich in fat, this meal helps you stay in a fat-burning state.
- Satiating protein: Chicken provides high-quality protein to support muscle and keep you full longer.
- Stable energy: The fat from butter and oil helps reduce blood sugar swings and cravings.
- Nutrient boost: Garlic and herbs add antioxidants and flavor without adding carbs.
Pitfalls to Watch Out For
- Overcooking the chicken: Dry chicken ruins the dish.
Use a thermometer and pull at 165°F.
- Burning the garlic: Garlic turns bitter fast. Keep heat moderate when sautéing.
- Too salty: If your broth is salty, reduce added salt. Taste as you go.
- Hidden carbs in sides: Stick to keto sides like cauliflower, zucchini, or greens rather than starchy vegetables.
- Portion creep: Even keto foods add up.
Plate reasonable portions and save the rest for later.
Variations You Can Try
- Creamy version: Add 1/4 cup heavy cream after reducing the broth for a richer sauce. Keep simmering until slightly thickened.
- Mushroom twist: Sauté 1 cup sliced mushrooms in butter before adding garlic. Great umami flavor, still low-carb.
- Capers and lemon: Stir in 1 tablespoon capers and extra lemon zest for a piccata vibe.
- Herb swap: Try rosemary or tarragon instead of thyme for a different profile.
- Breast option: Use chicken breasts pounded to 1/2–3/4 inch.
Sear 3–4 minutes per side, then finish in the sauce to keep moist.
- Air fryer shortcut: Air-fry seasoned chicken at 380°F (193°C) for 12–15 minutes, flipping once. Warm sauce separately in a pan and toss together.
- Spicy garlic butter: Add extra red pepper flakes or a pinch of cayenne to the sauce.
FAQ
Is Garlic Butter Chicken really keto?
Yes. This recipe is naturally low in carbs and high in fat and protein.
As long as you don’t add flour or sugary sauces, it fits a keto plan.
Can I make this dairy-free?
You can swap the butter with ghee if you tolerate it, or use a dairy-free butter alternative. Flavor will change slightly, but the garlic and herbs still shine.
What sides go best while staying low-carb?
Try cauliflower mash, roasted asparagus, sautéed spinach, green beans, or a simple arugula salad with olive oil and lemon. All pair well with the sauce.
How do I know when the chicken is done?
Use an instant-read thermometer.
The thickest part should read 165°F (74°C). The juices should run clear, and the meat should feel firm but not tough.
Can I bake this instead?
Yes. Season the chicken and bake at 400°F (204°C) for 18–22 minutes, depending on thickness.
Make the garlic butter sauce on the stovetop and pour over before serving.
Does this work for meal prep?
Definitely. Portion the chicken with sauce and a keto side. It reheats well and keeps texture if you use gentle heat.
How can I thicken the sauce without flour?
Reduce it a bit longer on the stove, or whisk in a small knob of cold butter at the end.
You can also add a splash of heavy cream for a richer texture.
Wrapping Up
Garlic Butter Chicken for Keto Weight Loss is proof that simple ingredients can taste luxurious. You get juicy chicken, a silky sauce, and balanced macros that support your goals. Keep it on rotation for busy nights, and change it up with herbs or mushrooms when you want something new.
Most of all, enjoy the flavor and let the sauce do the heavy lifting.
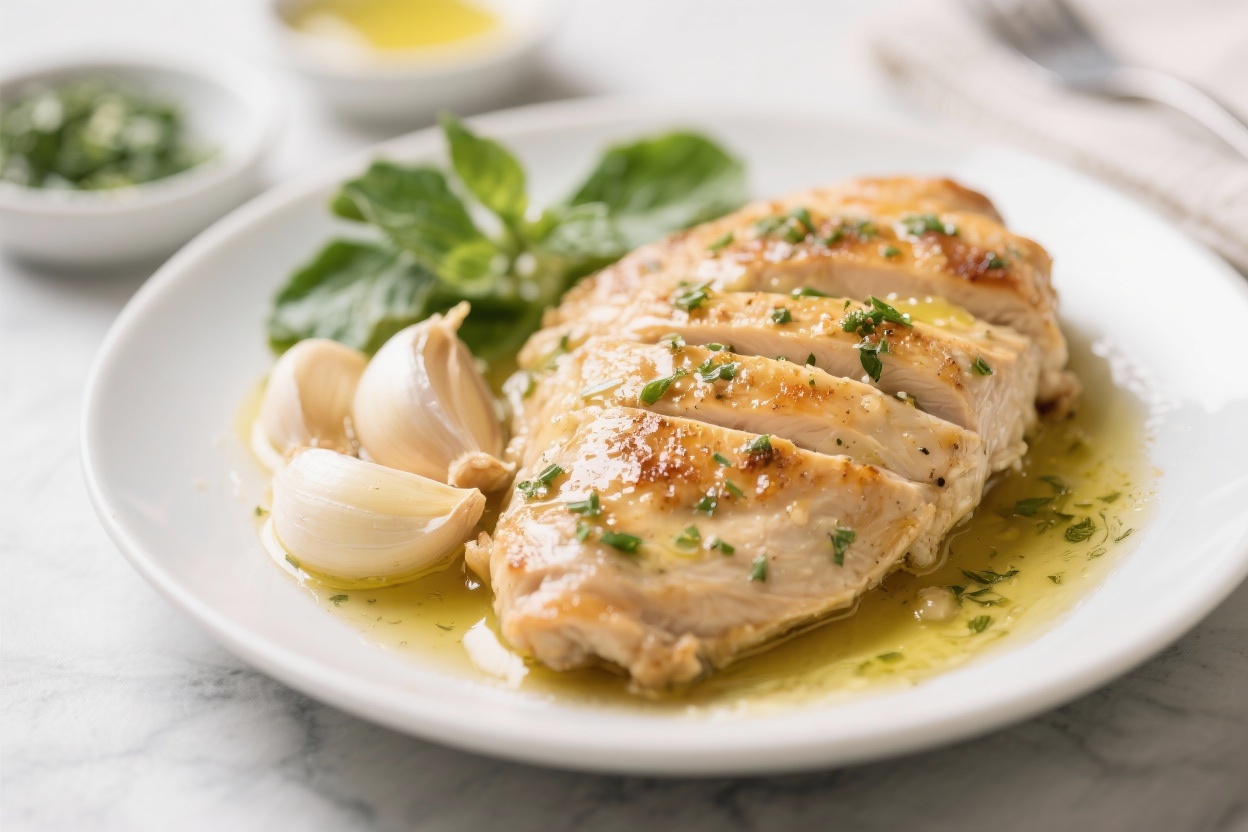
Garlic Butter Chicken for Keto Weight Loss - Simple, Juicy, and Flavor-Packed
Ingredients
Method
- Season the chicken: Pat the chicken dry. Mix salt, pepper, paprika, and garlic powder, then rub it all over the chicken.
- Sear it: Heat olive oil and 1 tablespoon butter in a large skillet over medium-high heat. Add chicken in a single layer and sear 4–5 minutes per side until golden and cooked through (165°F/74°C). Transfer to a plate and tent with foil.
- Make the garlic butter base: Lower heat to medium. Add 2 tablespoons butter to the skillet. Stir in the minced garlic and red pepper flakes. Cook 30–60 seconds until fragrant, not browned.
- Deglaze: Pour in chicken broth and lemon juice. Scrape up browned bits from the pan with a wooden spoon. Simmer 2–3 minutes to reduce slightly.
- Finish the sauce: Stir in thyme and parsley. Swirl in the final tablespoon of butter for a silky finish. Taste and adjust salt and lemon.
- Coat the chicken: Return chicken to the pan and spoon sauce over the top. Let it simmer 1–2 minutes so the flavors meld.
- Serve: Top with extra parsley and a little lemon zest if you like. Spoon sauce over each piece when plating.
Tried this recipe?
Let us know how it was!Discover More Delicious Ideas 🍽️
If you need dinner inspiration for busy evenings, explore our
Dinner Recipes category.
If you’re craving delicious chicken meals, browse our
Chicken Recipes category.
If you need dinner on the table fast, explore our
Quick & Easy category.
If you’re craving new flavors, take a look at our
World Cuisine category.
If you want something lighter but still satisfying, visit our
Healthy & Light category.
If you’re in the mood for a treat, find something sweet in our
Sweets & Desserts category.
If you like to plan ahead, get inspired in our
Meal Prep & Planning category.
If you’re keeping it low carb and still want satisfying meals, explore our
Keto Weight Loss category.
If you’re looking for detox drinks, smoothies, or kid-friendly blends, browse our
Juices & Smoothies category.
If you want to see the kitchen tools and gadgets I personally use for cooking and meal prep, visit my
My Kitchen Essentials page.
Or explore everything in one place in
All Recipes.
Printable Recipe Card
Want just the essential recipe details without scrolling through the article? Get our printable recipe card with just the ingredients and instructions.