
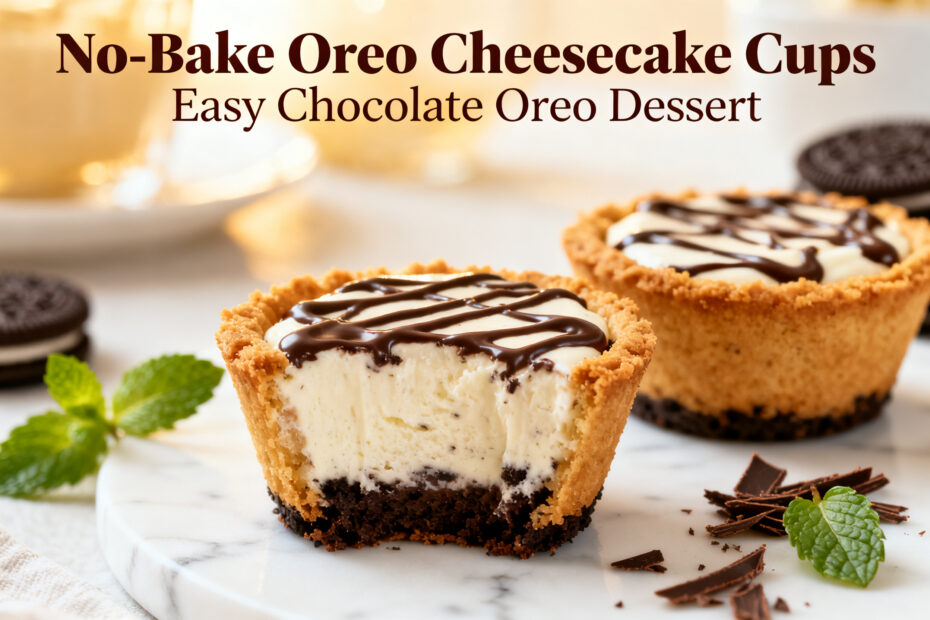
No oven, no stress, and absolutely no waiting around for hours—these No-Bake Oreo Cheesecake Cups give you rich, creamy cheesecake flavor with minimal effort. They’re perfect for weeknights, parties, or whenever your sweet tooth hits. Each cup has a crunchy Oreo base, a fluffy cream cheese filling, and a generous Oreo crumble swirl.
They set quickly in the fridge and serve beautifully in small cups or jars. If you love Oreos and easy desserts, this is your go-to.

No-Bake Oreo Cheesecake Cups (Easy Chocolate Oreo Dessert) - Creamy, Crunchy, and Ready Fast
Ingredients
Method
- Prep your cups. Set out 8–10 small serving cups or jars. If you like neat layers, choose clear glass to show them off.
- Make the Oreo crust. Add 14 Oreo cookies to a food processor and pulse into fine crumbs. (No processor? Seal in a bag and crush with a rolling pin.) Mix crumbs with the melted butter until they resemble damp sand.
- Press the base. Spoon 1–2 tablespoons of crumbs into each cup. Press down firmly with the back of a spoon. Aim for a tight, even base so it holds together.
- Crush Oreos for the filling. Roughly chop or crush 6 Oreos into chunky pieces. You want bits for texture, not powder.
- Beat the cream cheese. In a large bowl, beat the softened cream cheese with a hand mixer until smooth and fluffy, about 1–2 minutes. No lumps—this is key.
- Add sugar, vanilla, and salt. Beat in the powdered sugar, vanilla, and salt until creamy. Scrape the bowl so everything blends evenly.
- Whip the cream. In a separate chilled bowl, whip the cold heavy cream to stiff peaks. It should hold its shape when you lift the beaters.
- Fold it together. Gently fold the whipped cream into the cream cheese mixture in two additions. Keep it airy. Then fold in the crushed Oreo pieces.
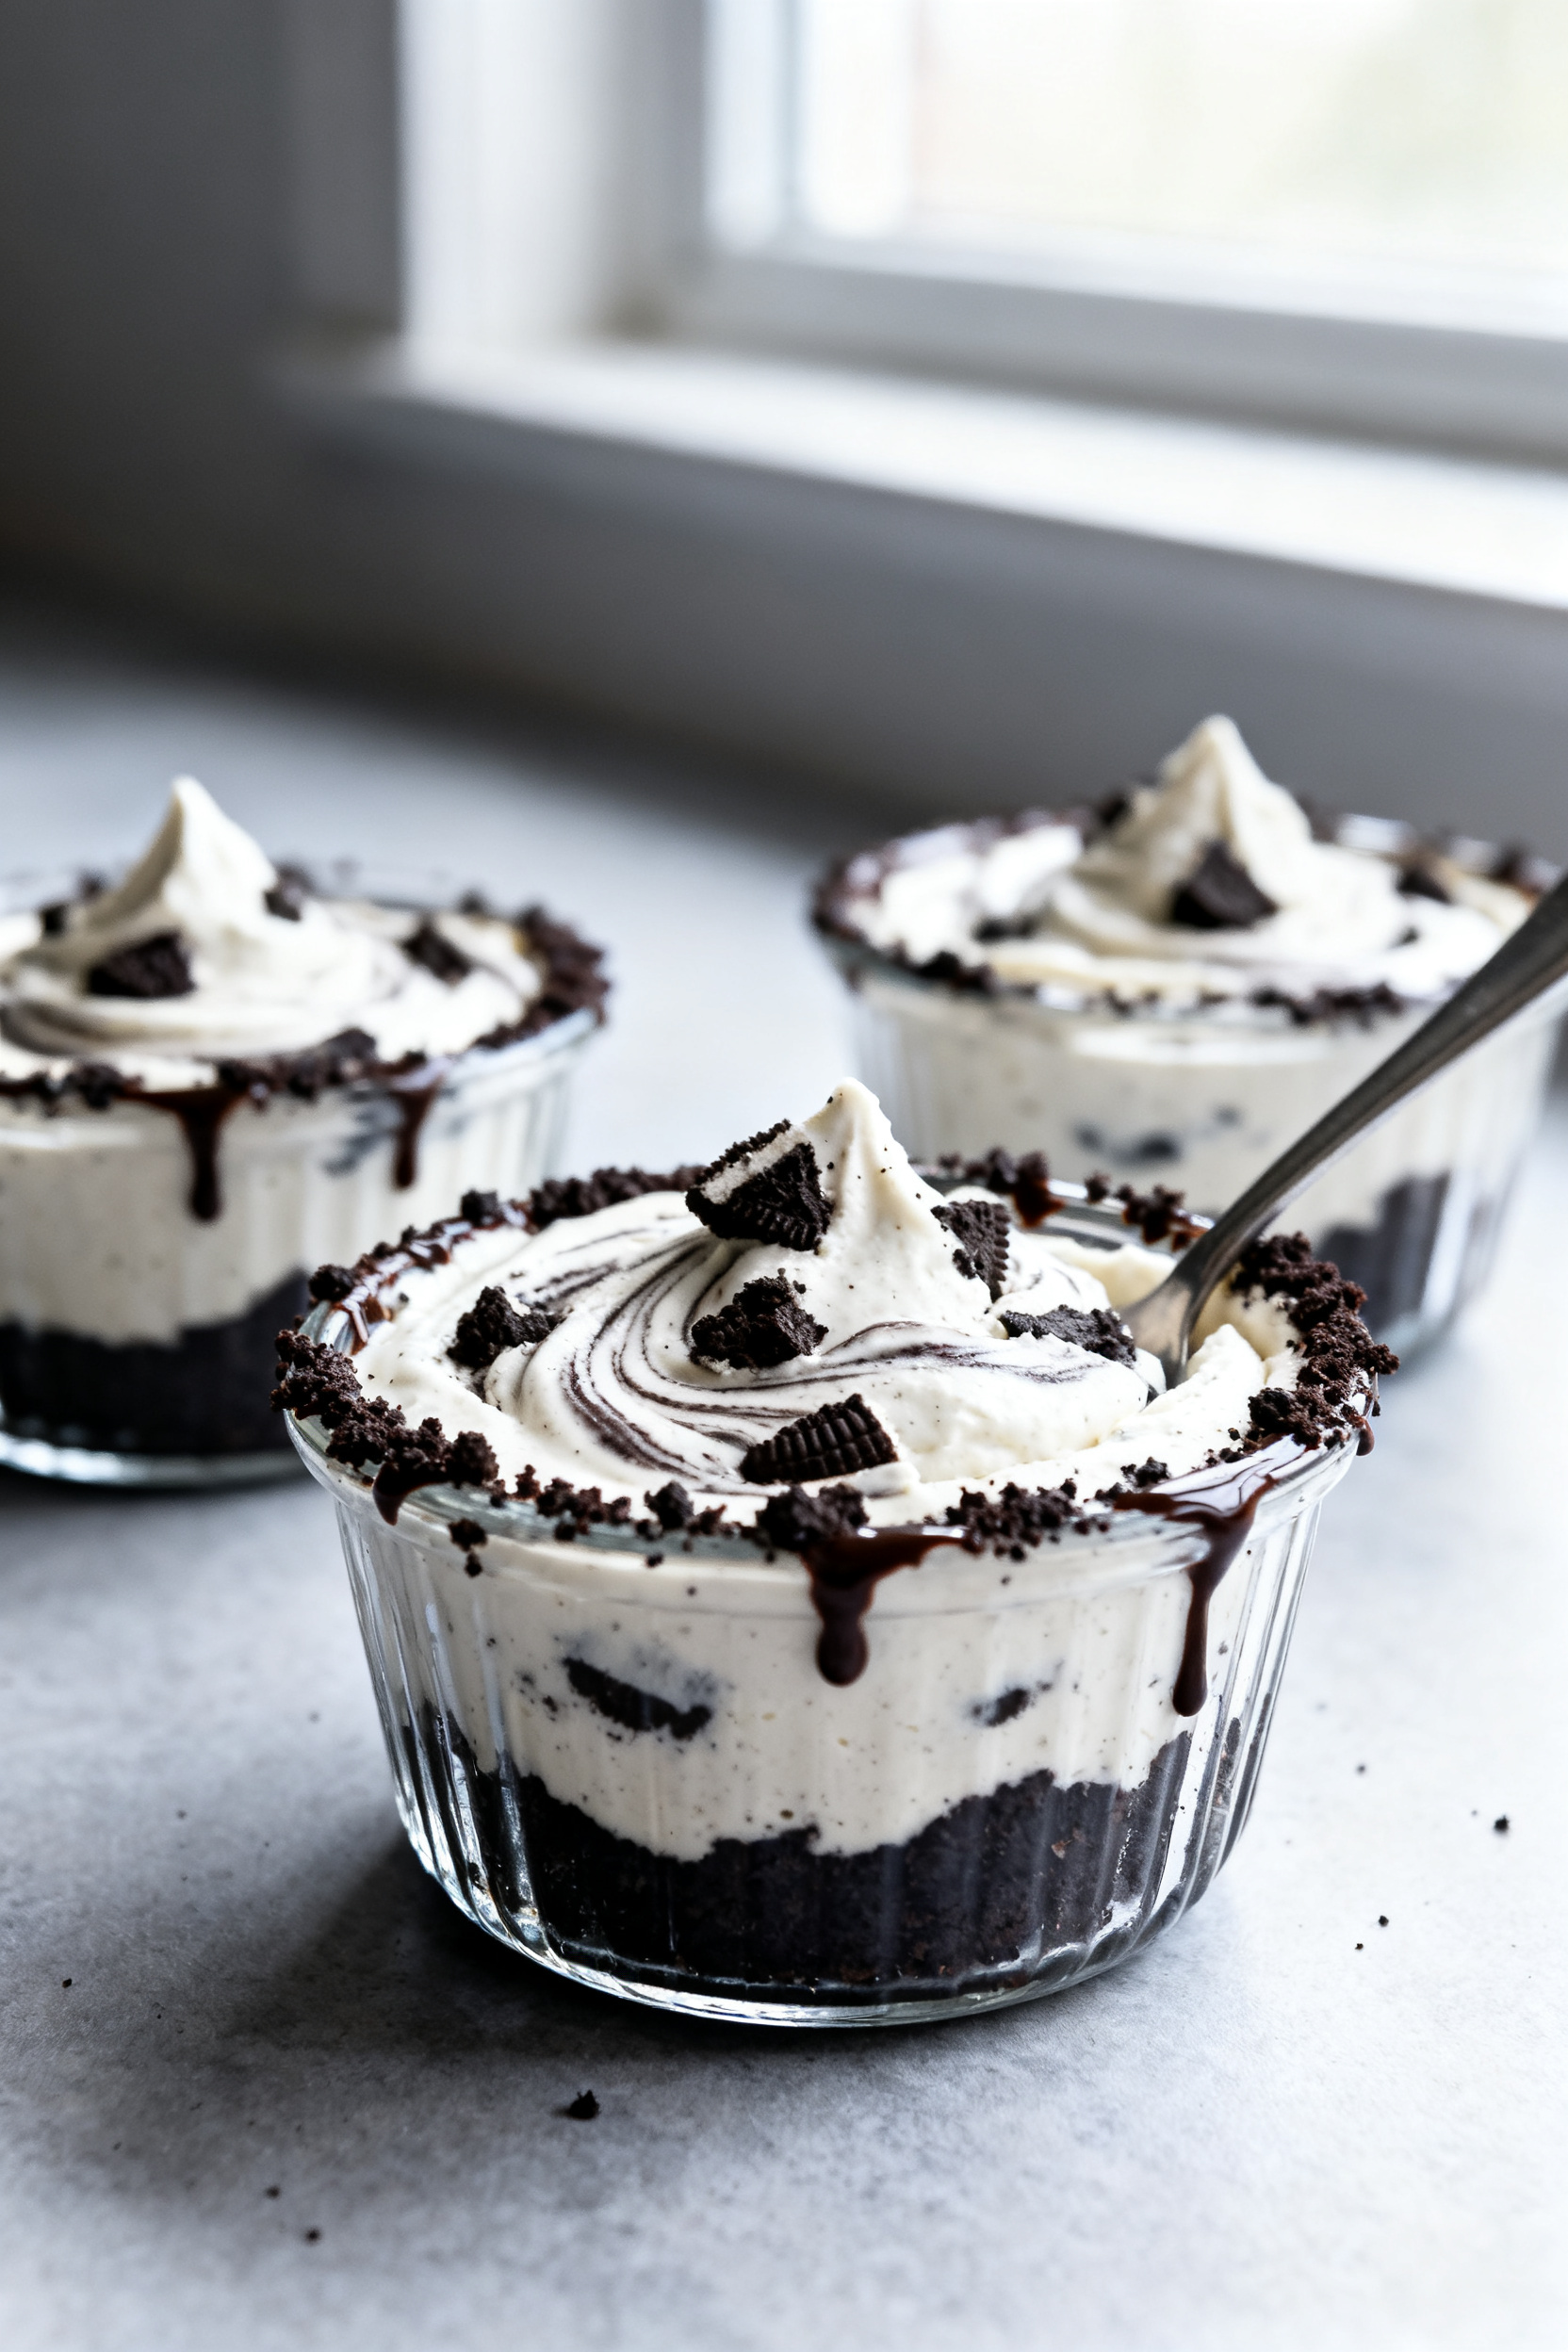
- Fill the cups. Spoon or pipe the cheesecake filling over each crust, leaving a little room on top for garnish.
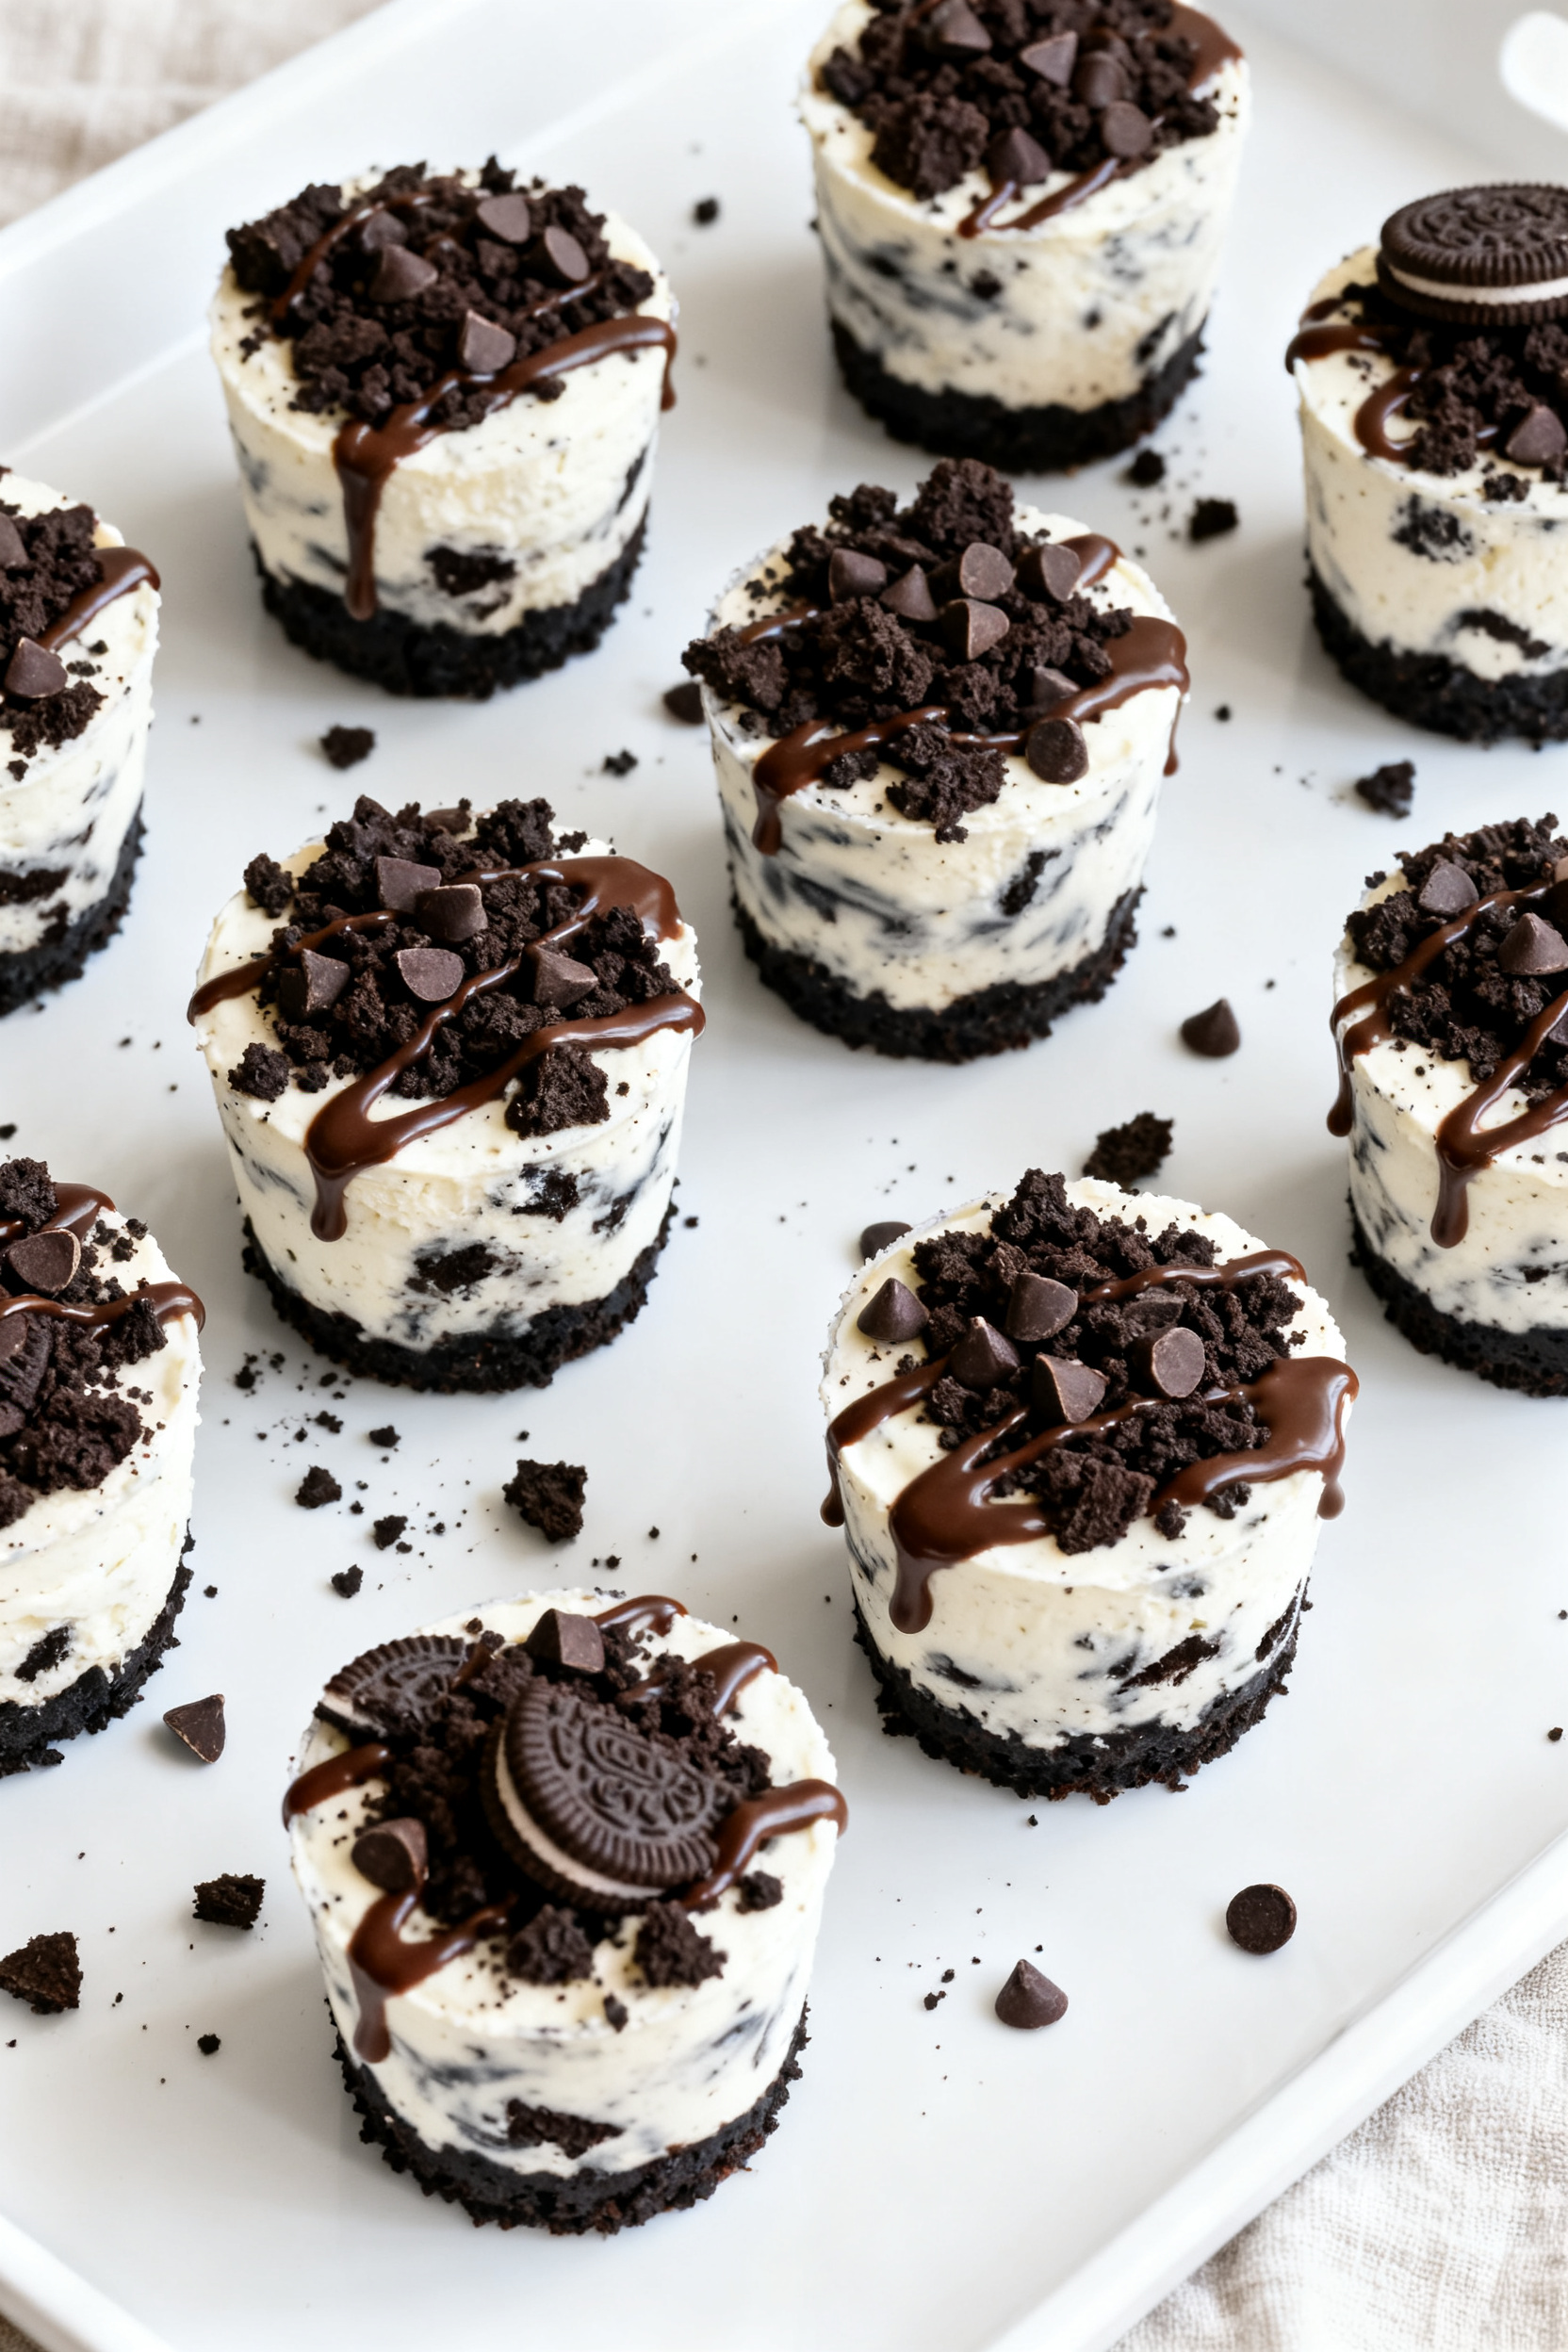
- Top and chill. Crush the remaining 4 Oreos and sprinkle over the cups. Add mini chips or a light drizzle of chocolate sauce if you want. Chill for at least 2 hours, or 30–45 minutes in the freezer for a quicker set.
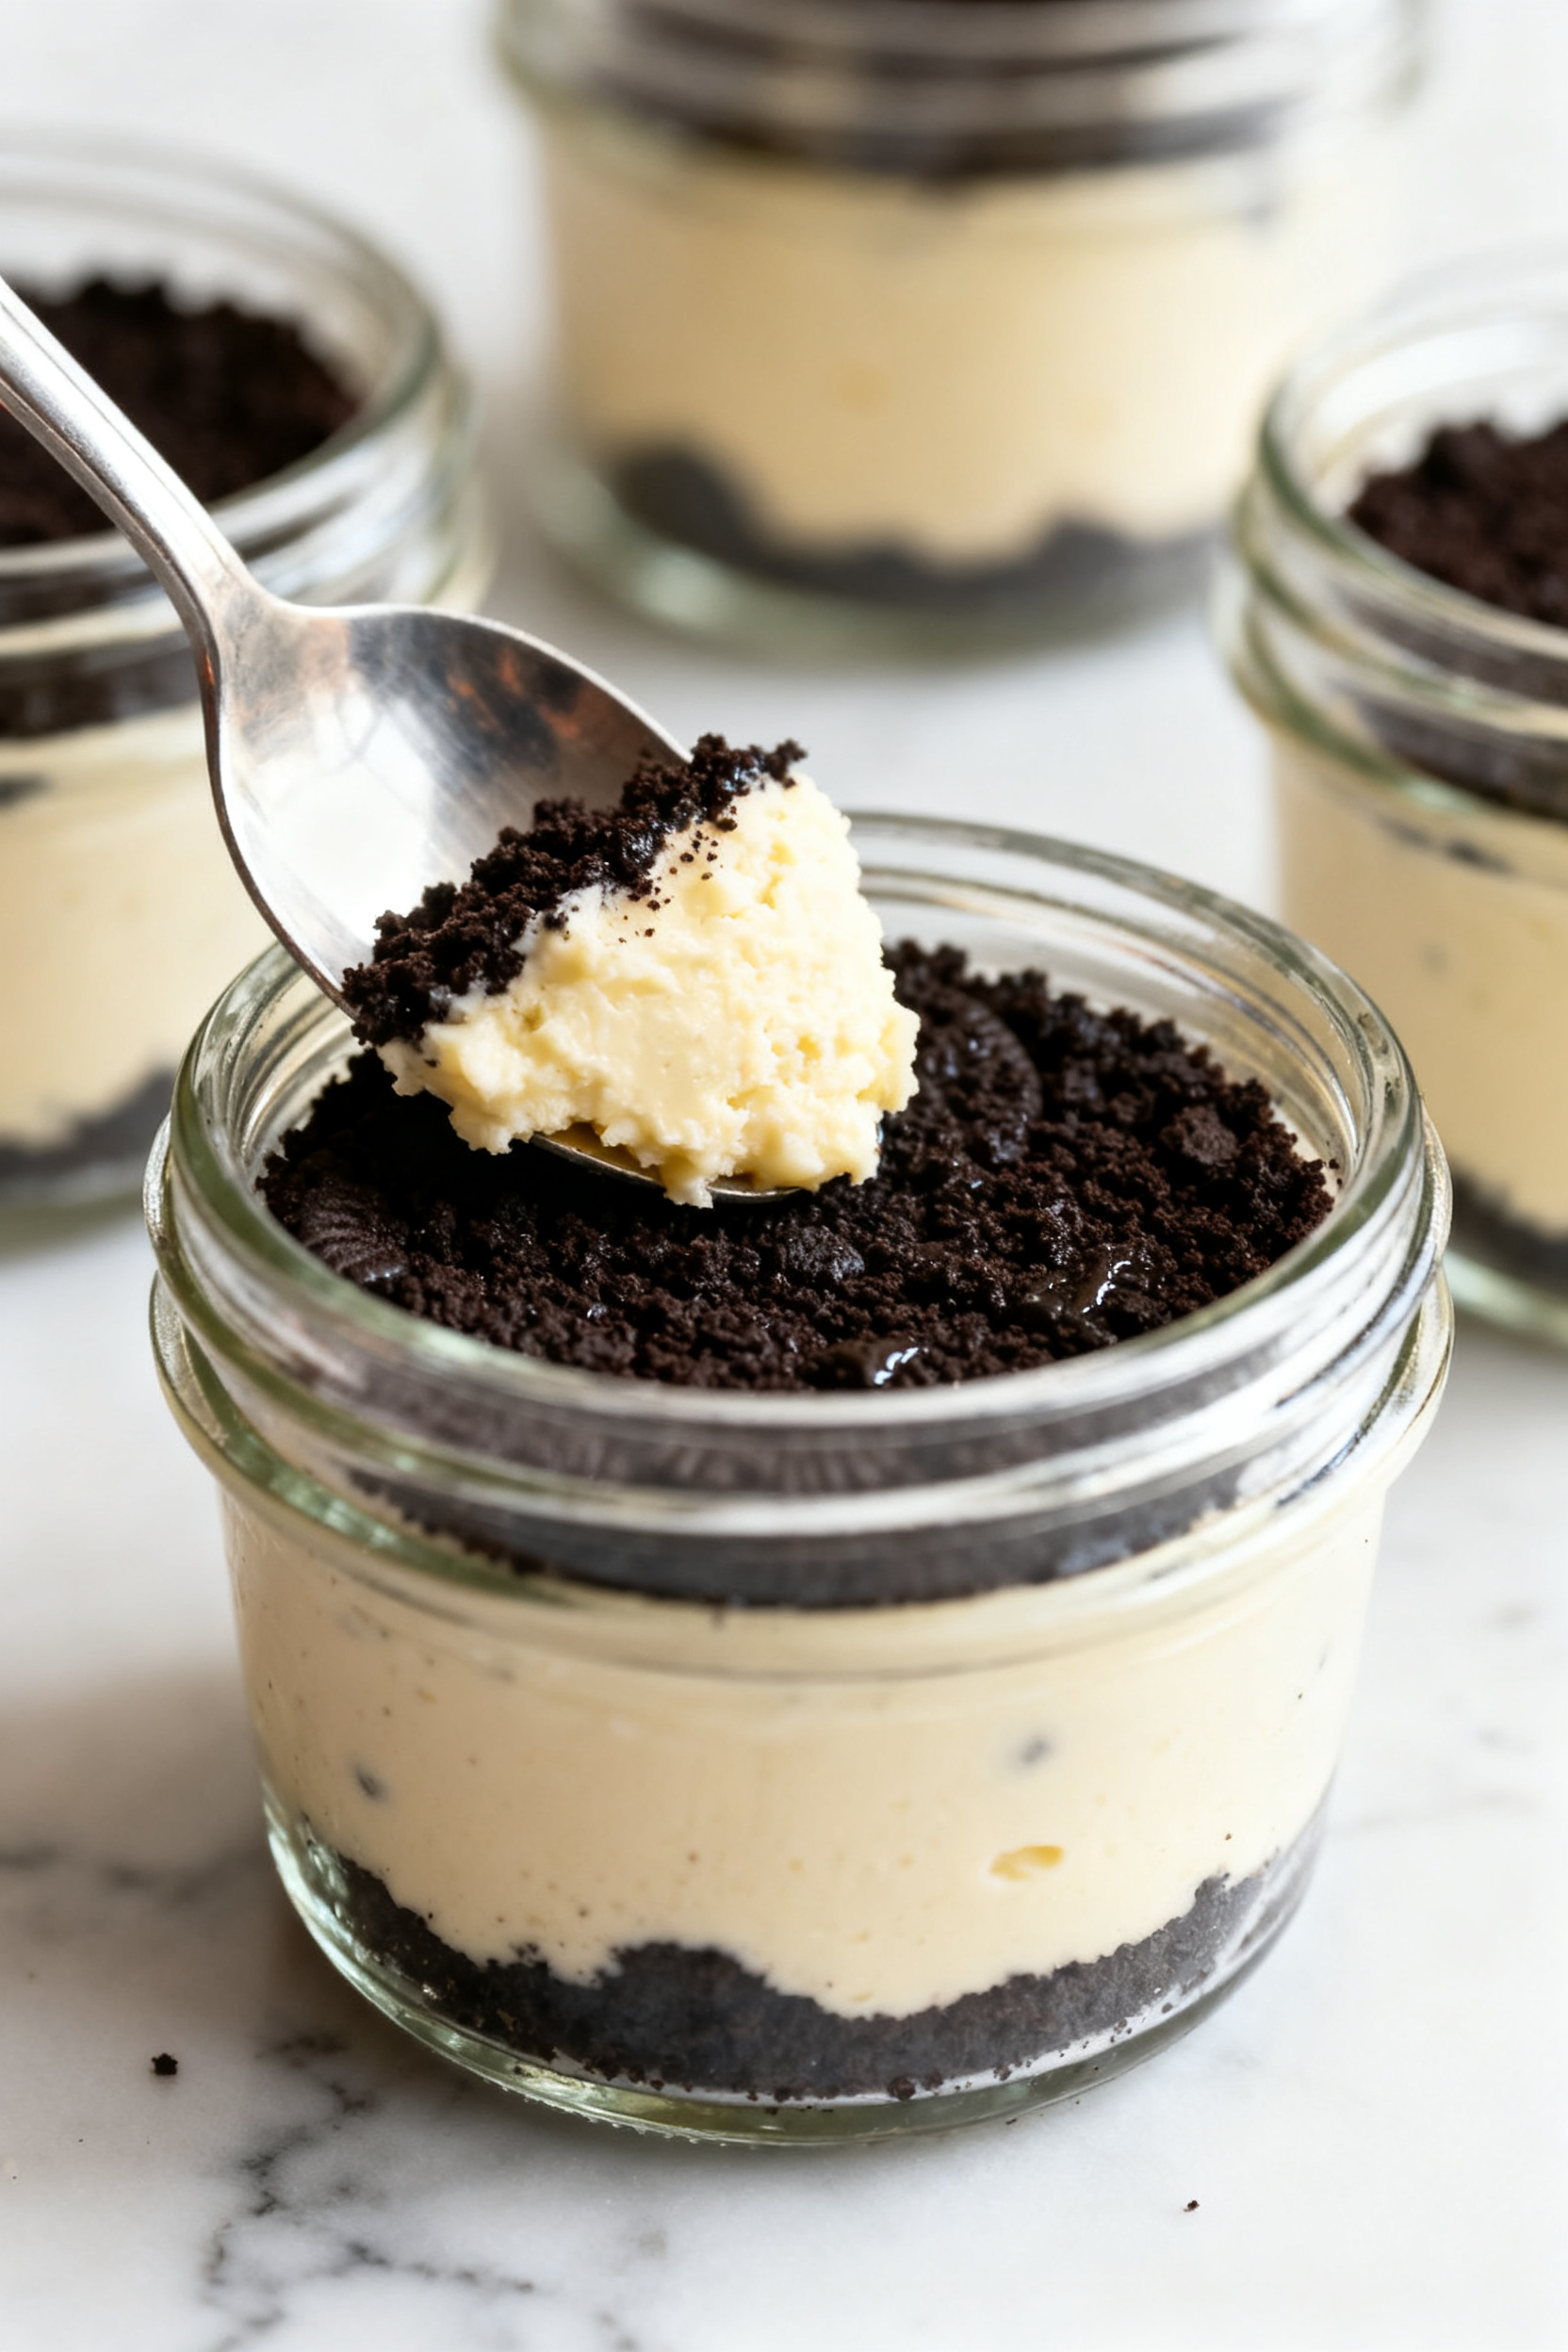
- Serve. Enjoy straight from the fridge for the best texture. The filling will be silky and spoonable, not stiff.
Tried this recipe?
Let us know how it was!What Makes This Special
These cheesecake cups are all about speed and satisfaction. You crush Oreos, stir a few pantry staples, and chill—done.
No baking means no water baths, cracked tops, or guesswork. The texture is light and mousse-like with a deep chocolate cookie crunch. Best of all, the recipe scales easily for a crowd and looks polished even when made last minute.
What You’ll Need
- 24 Oreo cookies (about 2 standard sleeves), divided for crust, filling, and topping
- 4 tablespoons unsalted butter, melted
- 16 ounces (450 g) cream cheese, softened to room temperature
- 2/3 cup powdered sugar (confectioners’ sugar), sifted
- 1 teaspoon pure vanilla extract
- 1/8 teaspoon fine salt
- 1 cup cold heavy whipping cream
- Optional extras: mini chocolate chips, a drizzle of chocolate sauce, extra crushed Oreos for topping
- Serving: 8–10 small cups, ramekins, or jars
Step-by-Step Instructions
- Prep your cups. Set out 8–10 small serving cups or jars.
If you like neat layers, choose clear glass to show them off.
- Make the Oreo crust. Add 14 Oreo cookies to a food processor and pulse into fine crumbs. (No processor? Seal in a bag and crush with a rolling pin.) Mix crumbs with the melted butter until they resemble damp sand.
- Press the base. Spoon 1–2 tablespoons of crumbs into each cup. Press down firmly with the back of a spoon.
Aim for a tight, even base so it holds together.
- Crush Oreos for the filling. Roughly chop or crush 6 Oreos into chunky pieces. You want bits for texture, not powder.
- Beat the cream cheese. In a large bowl, beat the softened cream cheese with a hand mixer until smooth and fluffy, about 1–2 minutes. No lumps—this is key.
- Add sugar, vanilla, and salt. Beat in the powdered sugar, vanilla, and salt until creamy.
Scrape the bowl so everything blends evenly.
- Whip the cream. In a separate chilled bowl, whip the cold heavy cream to stiff peaks. It should hold its shape when you lift the beaters.
- Fold it together. Gently fold the whipped cream into the cream cheese mixture in two additions. Keep it airy.
Then fold in the crushed Oreo pieces.
- Fill the cups. Spoon or pipe the cheesecake filling over each crust, leaving a little room on top for garnish.
- Top and chill. Crush the remaining 4 Oreos and sprinkle over the cups. Add mini chips or a light drizzle of chocolate sauce if you want. Chill for at least 2 hours, or 30–45 minutes in the freezer for a quicker set.
- Serve. Enjoy straight from the fridge for the best texture.
The filling will be silky and spoonable, not stiff.
Keeping It Fresh
Store the cups covered in the fridge for up to 3 days. The crust stays crisp for the first day, then softens slightly but still tastes great. For the best presentation, add final toppings (extra crumbs or drizzle) just before serving.
If you made a big batch, you can freeze them without toppings for up to 1 month. Thaw in the fridge overnight for the creamiest result.
Why This is Good for You
- Stress-free dessert: No oven, no timing issues, and no risk of overbaking.
- Portion control: Served in cups, so it’s easy to keep servings in check.
- Make-ahead friendly: Preps the day before and holds its texture well.
- Customizable: You can adapt it for different tastes or dietary needs.
While this isn’t a health food, it’s a smart choice when you want a satisfying treat without spending hours in the kitchen. The balance of creamy filling and chocolate crunch makes every bite count.
What Not to Do
- Don’t skip softening the cream cheese. Cold cream cheese leads to lumps you can’t fix later.
- Don’t overmix the whipped cream. If you beat past stiff peaks, it may turn grainy or start to separate.
- Don’t add warm butter to cold crumbs. Let the butter cool slightly so the crust binds evenly without turning greasy.
- Don’t rush the chill time. The filling needs time to set so the layers hold when you spoon into them.
- Don’t over-crush the Oreos for the filling. You want texture—fine crumbs belong in the crust, chunks belong in the filling.
Variations You Can Try
- Mint Oreo: Add 1/4 teaspoon peppermint extract to the filling and use Mint Oreos.
Top with crushed candy canes around the holidays.
- Peanut Butter Swirl: Warm 1/3 cup peanut butter until pourable and swirl it into the filled cups before chilling. Add chopped peanuts on top.
- Cookies & Cream Latte: Mix 1 teaspoon instant espresso powder into the cream cheese for a mocha vibe.
- Strawberries & Cream: Layer sliced fresh strawberries between the crust and filling, then top with more fruit before serving.
- Gluten-Friendly: Use gluten-free chocolate sandwich cookies for the crust and mix-ins. Check labels for cross-contamination if needed.
- Lighter Version: Swap half the cream cheese for Greek yogurt (thick, strained).
Note: the texture will be slightly softer, so chill longer.
- Party-Size Bites: Use mini cupcake liners in a muffin tin for bite-size portions. Press in a teaspoon of crust and pipe a small swirl of filling.
FAQ
Can I make these the day before?
Yes. They’re ideal for making ahead.
Assemble them, cover, and chill overnight. Add final cookie crumbles or sauce just before serving for the best look and texture.
What can I use instead of a food processor?
Place Oreos in a zip-top bag and crush with a rolling pin, skillet, or even the bottom of a measuring cup. Aim for fine crumbs for the crust and chunkier pieces for the filling.
How do I fix lumpy cheesecake filling?
If your cream cheese wasn’t fully softened, lumps can form.
Beat the cream cheese smooth before adding other ingredients next time. Once the whipped cream is in, avoid heavy mixing or you’ll deflate it. Small lumps won’t affect taste, but texture is best with fully softened cream cheese.
Can I reduce the sweetness?
Yes.
Cut the powdered sugar to 1/2 cup and taste. Oreos add sweetness on their own, so you can often get away with less sugar without losing flavor.
What kind of cups work best?
Small glass jars, ramekins, or sturdy plastic dessert cups work well. Aim for 4 to 6 ounces per cup.
Clear containers show off the layers and make portioning easier.
Can I use whipped topping instead of heavy cream?
You can, but the flavor and texture will be slightly different. If using whipped topping, fold it in gently and reduce the powdered sugar a touch since topping is already sweet.
Why is my crust crumbly?
It may need more butter or a firmer press. Oreo cream levels can vary slightly, so add an extra teaspoon of melted butter if the mixture looks too dry.
Press firmly with the back of a spoon.
How long should I chill them?
At least 2 hours in the fridge is ideal. If you’re in a hurry, freeze for 30–45 minutes, but don’t leave them in the freezer long-term with toppings, or condensation can soften the crumbs.
Can I make this as a full-size dessert?
Yes. Press the crust into an 8-inch square pan or a springform pan and spread the filling on top.
Chill overnight for clean slices. Double the crust if you like a thicker base.
Do I need to remove the cream from the Oreos?
No. The cream helps bind the crumbs in the crust and adds flavor in the filling.
Use the cookies whole unless you’re adapting for a special diet.
Final Thoughts
These No-Bake Oreo Cheesecake Cups are proof that simple can be spectacular. With a few pantry staples and a bit of chill time, you get a creamy, chocolatey dessert that looks impressive and tastes even better. Keep this recipe handy for parties, potlucks, or any night you want something sweet without the fuss.
Once you try it, you’ll find endless ways to make it your own.
Discover More Delicious Ideas 🍽️
If you need dinner inspiration for busy evenings, explore our
Dinner Recipes category.
If you’re craving delicious chicken meals, browse our
Chicken Recipes category.
If you need dinner on the table fast, explore our
Quick & Easy category.
If you’re craving new flavors, take a look at our
World Cuisine category.
If you want something lighter but still satisfying, visit our
Healthy & Light category.
If you’re in the mood for a treat, find something sweet in our
Sweets & Desserts category.
If you like to plan ahead, get inspired in our
Meal Prep & Planning category.
If you’re keeping it low carb and still want satisfying meals, explore our
Keto Weight Loss category.
If you’re looking for detox drinks, smoothies, or kid-friendly blends, browse our
Juices & Smoothies category.
If you want to see the kitchen tools and gadgets I personally use for cooking and meal prep, visit my
My Kitchen Essentials page.
Or explore everything in one place in
All Recipes.
Printable Recipe Card
Want just the essential recipe details without scrolling through the article? Get our printable recipe card with just the ingredients and instructions.