

These soft and chewy chocolate chip cookies nail that warm, gooey center with perfectly crisp edges. No fancy equipment, no complicated steps—just reliable, bakery-quality cookies you can make at home any time. The dough comes together in minutes, bakes evenly, and tastes incredible straight from the oven or the next day.
If you’ve been chasing the “perfect cookie,” this one is balanced, cozy, and wonderfully dependable.
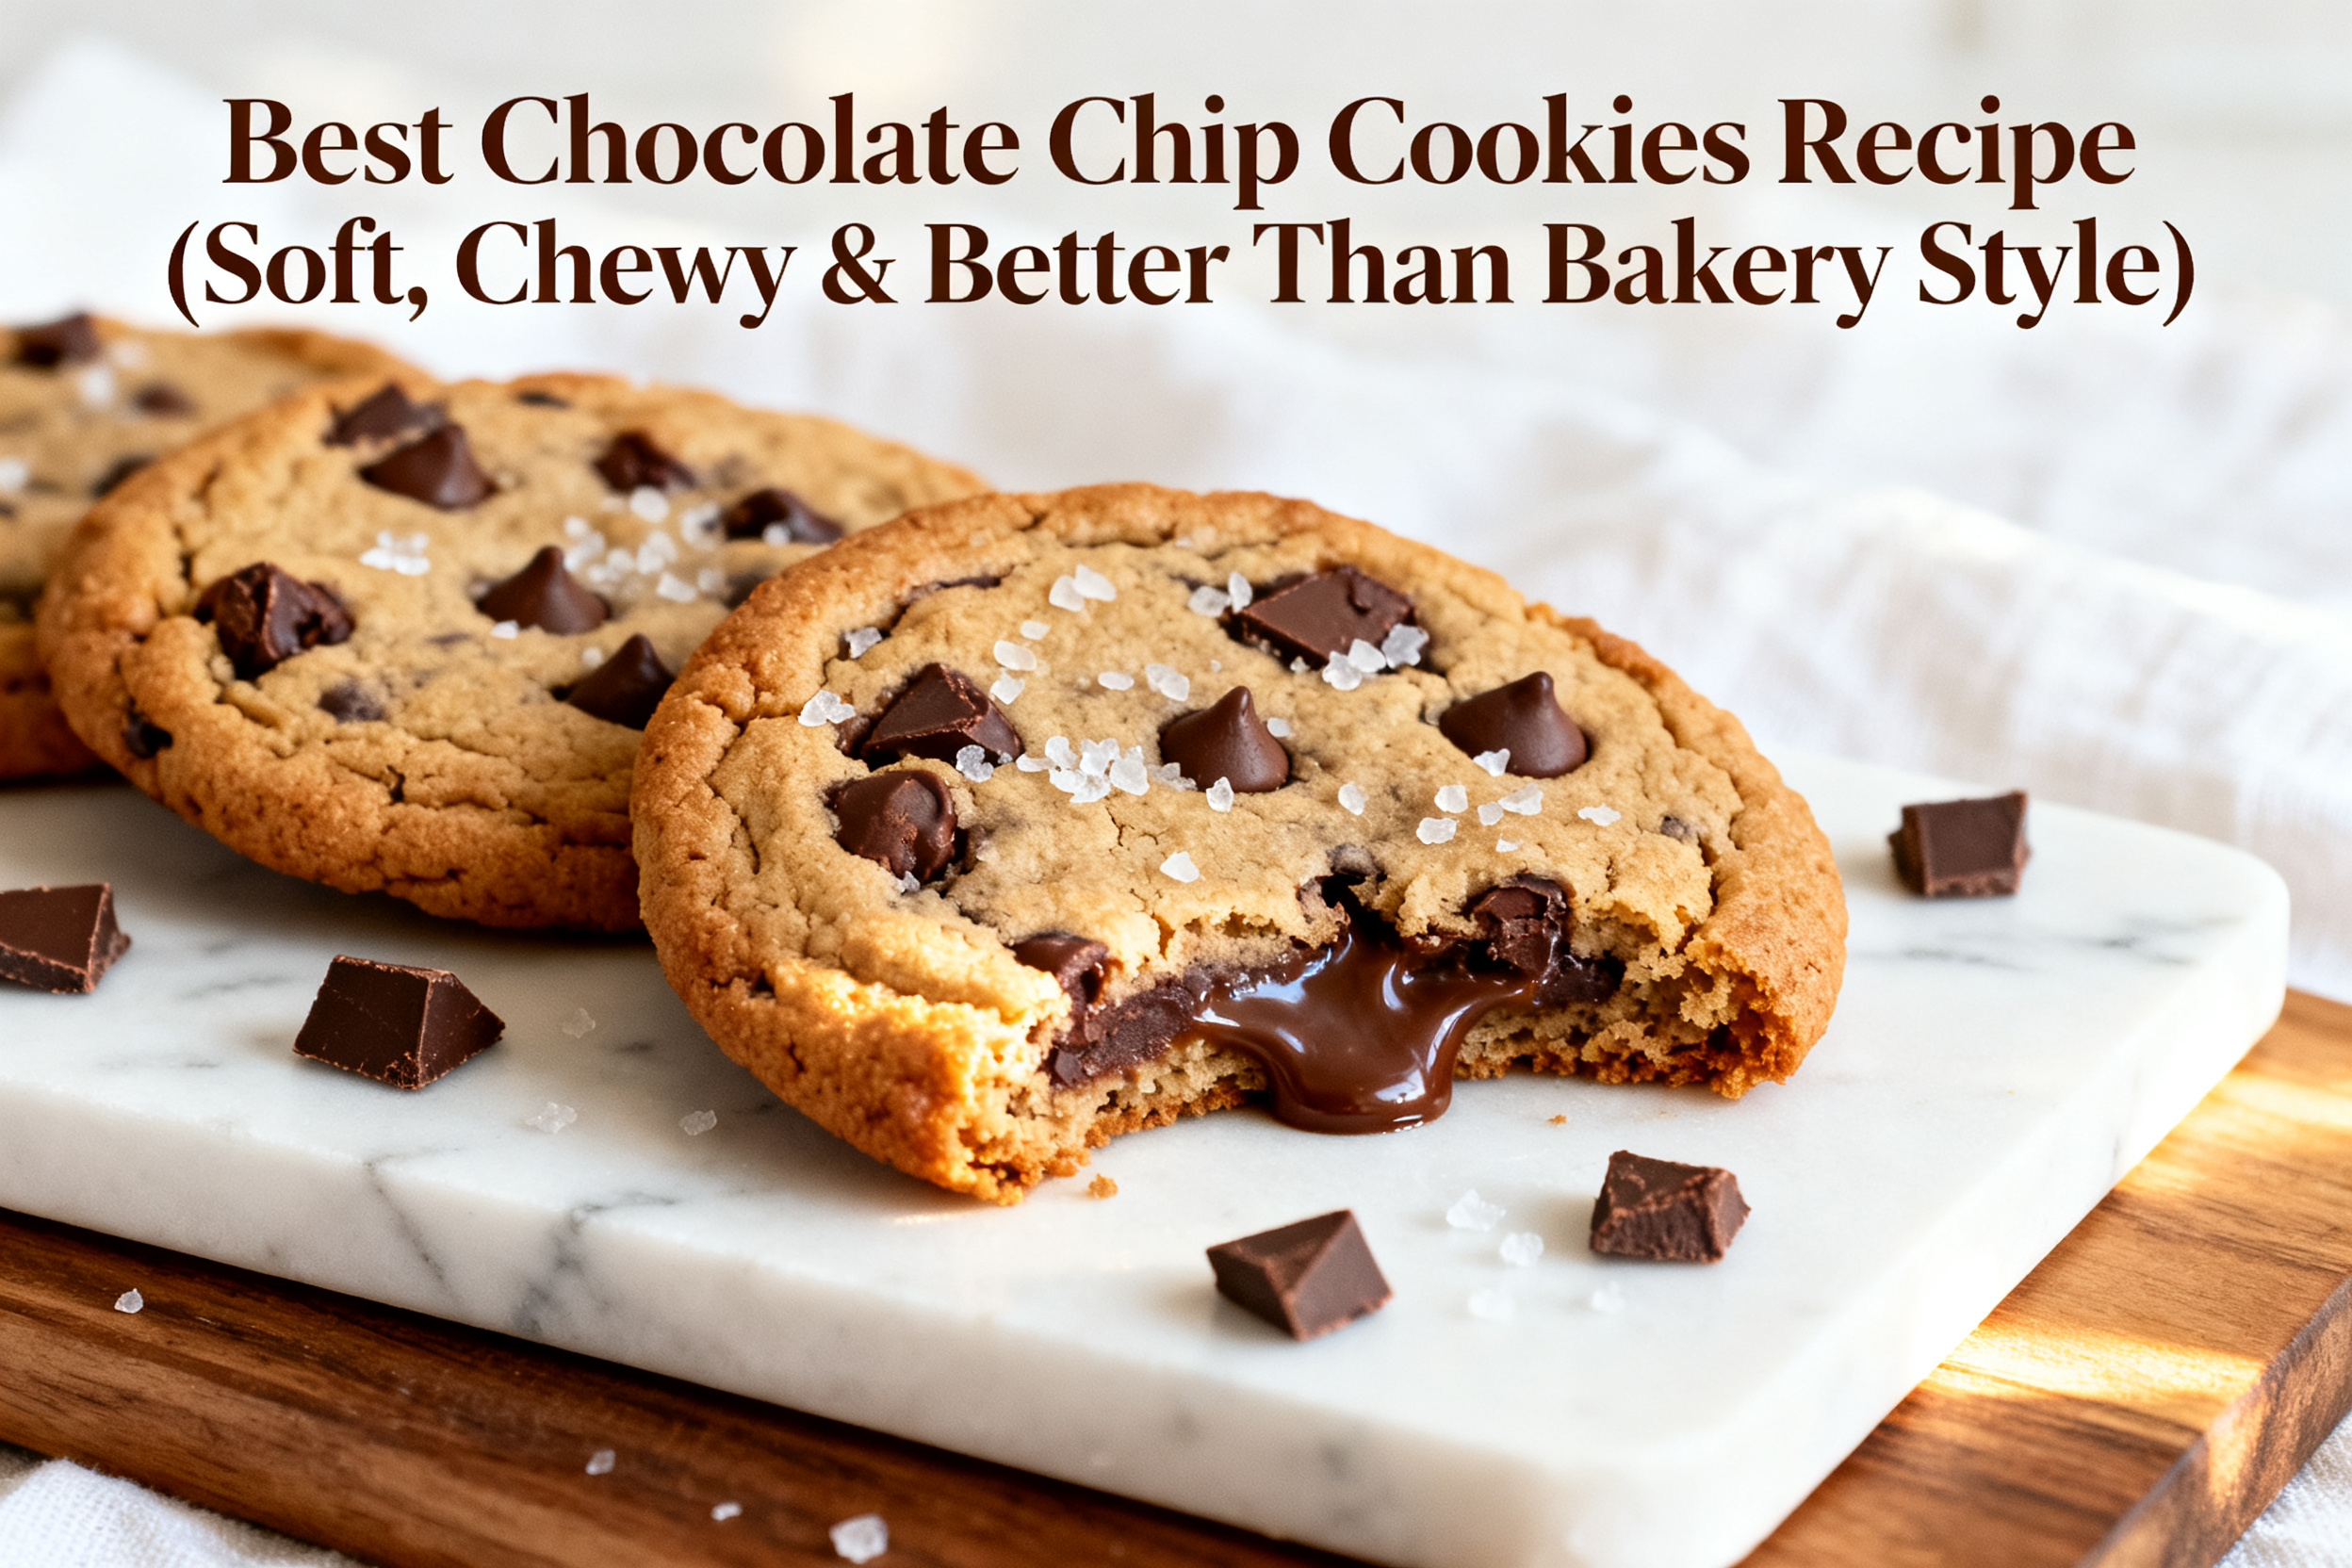
Best Chocolate Chip Cookies Recipe (Soft, Chewy & Better Than Bakery Style) - Easy, Reliable, Crowd-Pleasing
Ingredients
Method
- Prep and line: Heat oven to 350°F (175°C). Line two baking sheets with parchment paper. This keeps cookies from spreading too much and makes cleanup easy.
- Mix dry ingredients: In a medium bowl, whisk flour, cornstarch, baking soda, and salt until well combined. Set aside.
- Combine wet ingredients: In a large bowl, whisk melted, slightly cooled butter with brown sugar and granulated sugar until glossy and smooth, about 30–45 seconds. Whisk in the egg, egg yolk, and vanilla until the mixture looks thick and creamy.
- Add dry to wet: Use a spatula to fold the dry ingredients into the wet mixture just until a few flour streaks remain. Don’t overmix or you’ll lose that soft, chewy texture.
- Stir in chocolate: Fold in the chocolate chips or chunks. The dough will be thick and scoopable.
- Optional rest: For thicker cookies and deeper flavor, rest the dough 20–30 minutes at room temperature. Not required, but recommended if you have time.
- Scoop: Use a 2-tablespoon scoop (generous) or roll into golf-ball-sized rounds. Space them 2 inches apart on the prepared sheets.
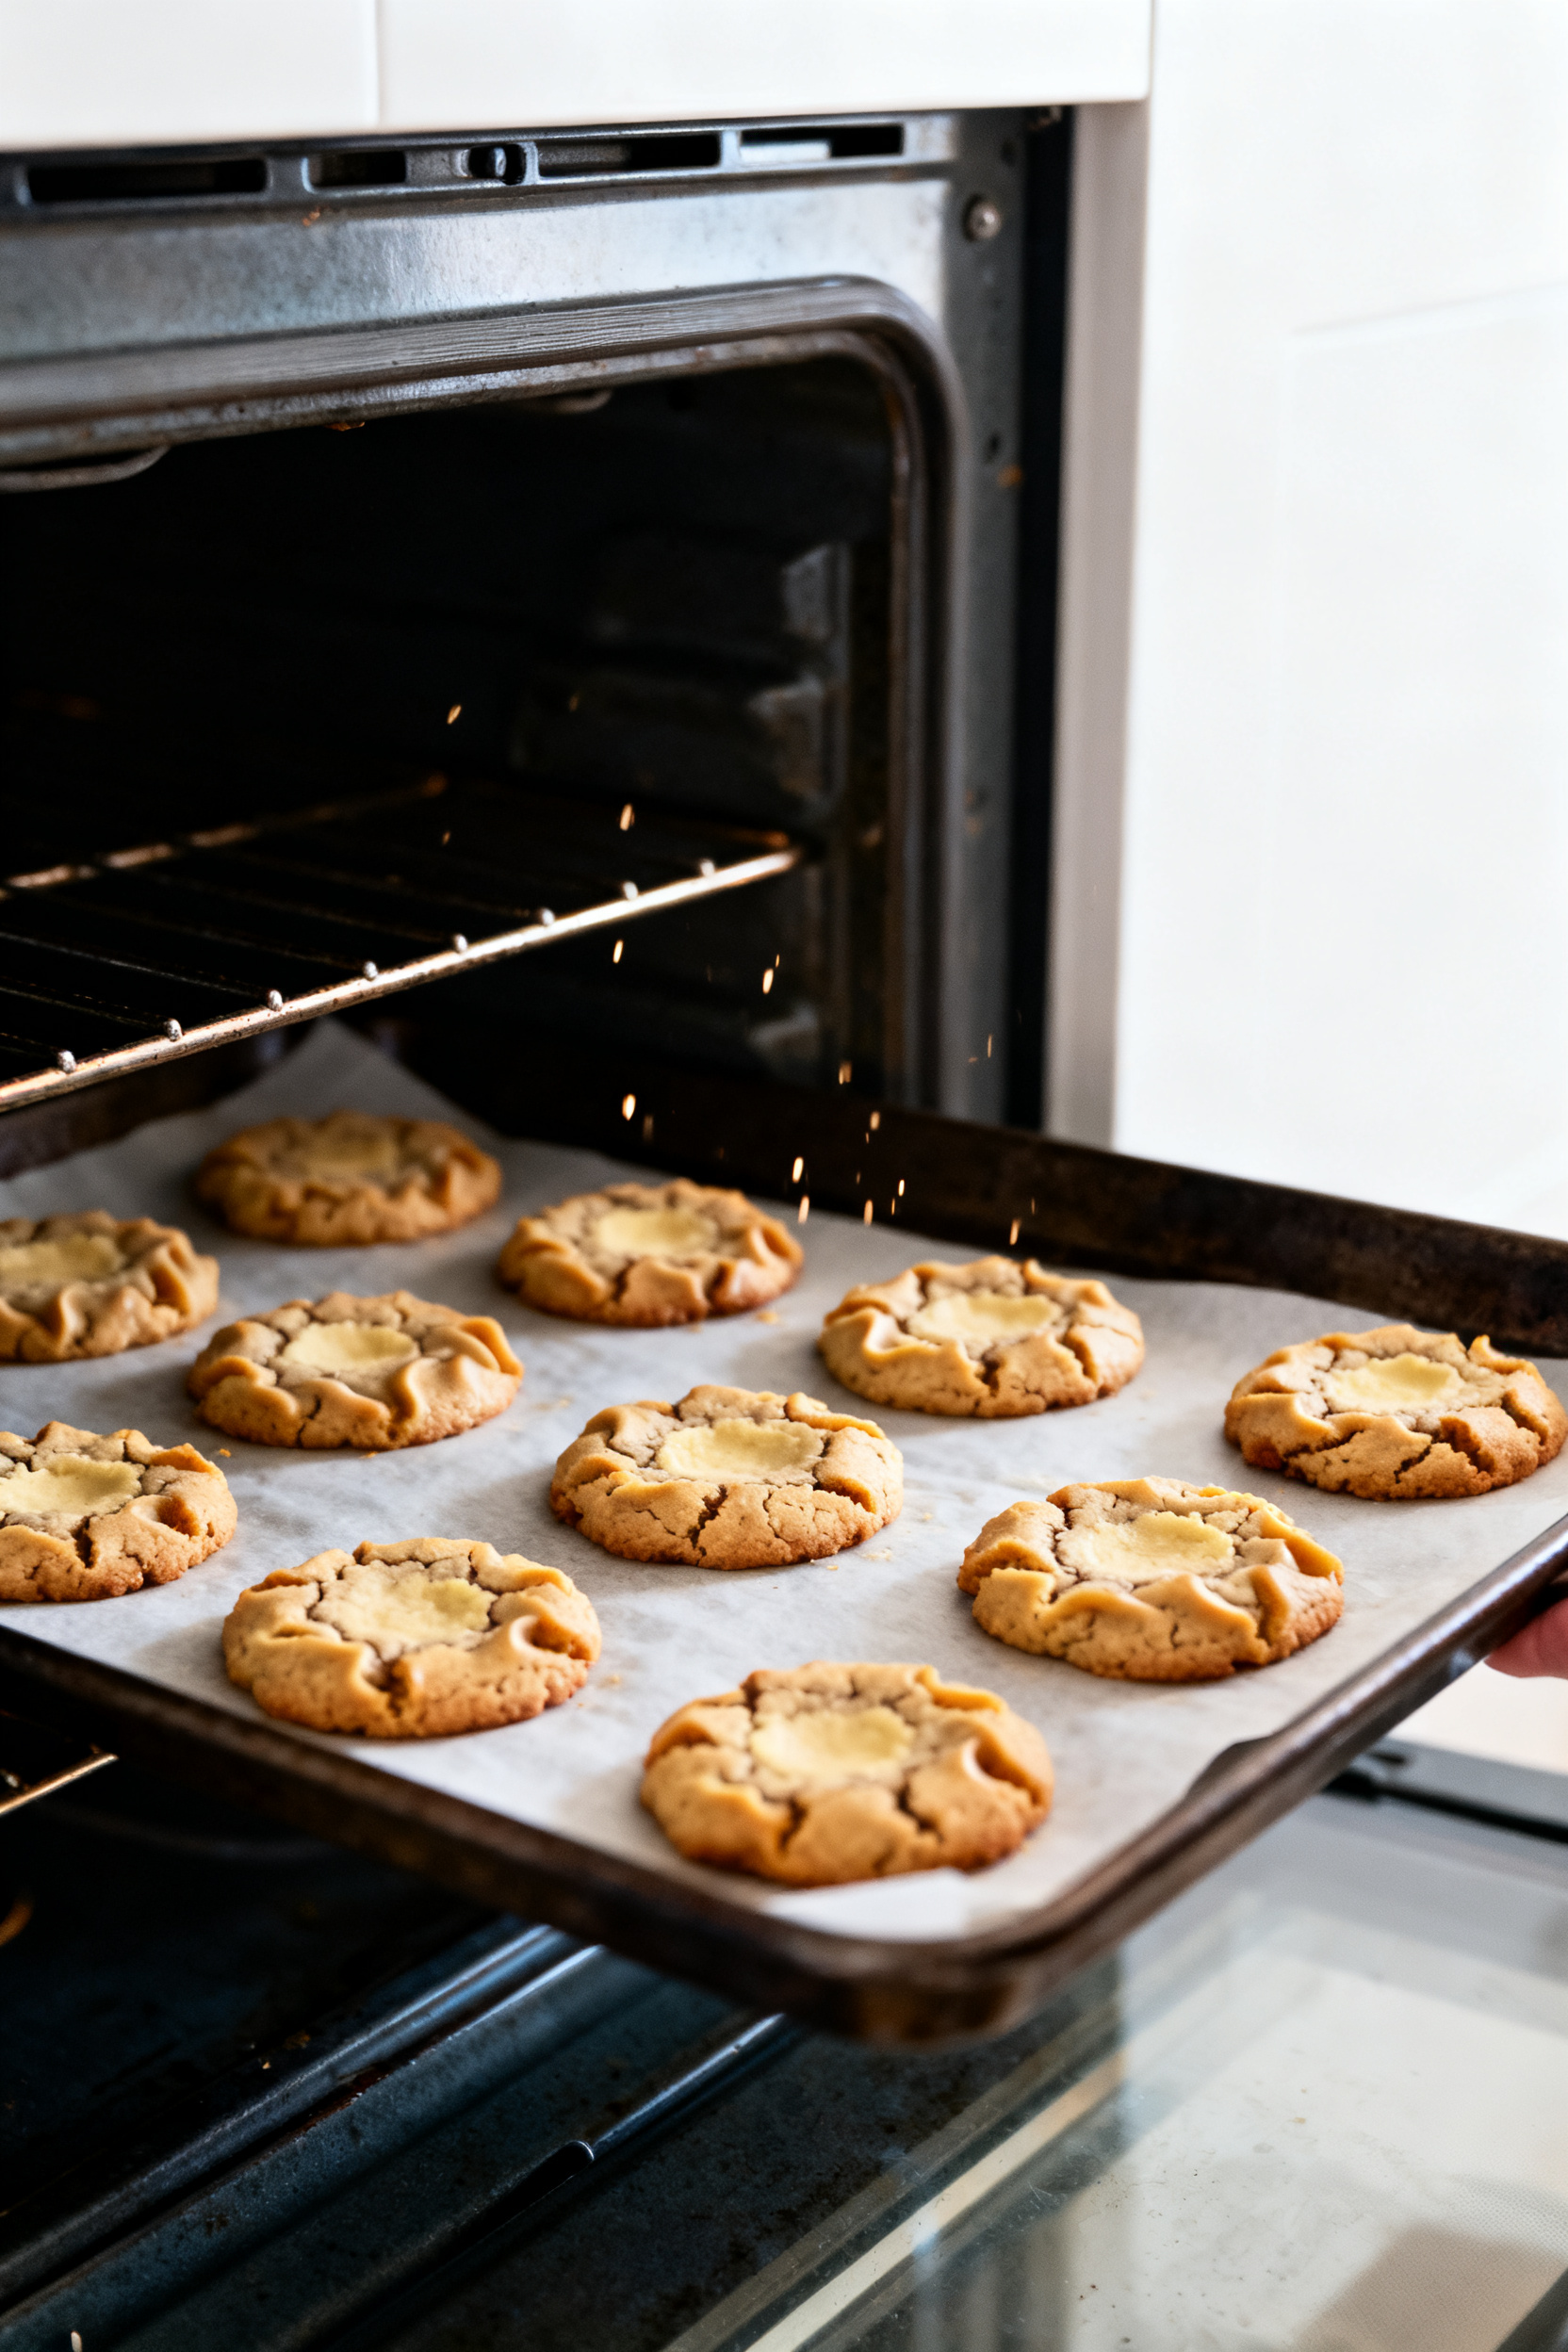
- Bake: Bake 9–11 minutes, until edges are set and lightly golden but centers still look soft and slightly underdone. For bakery-style ripples, gently lift the tray a couple inches and let it drop on the oven rack at minute 8, then continue baking.
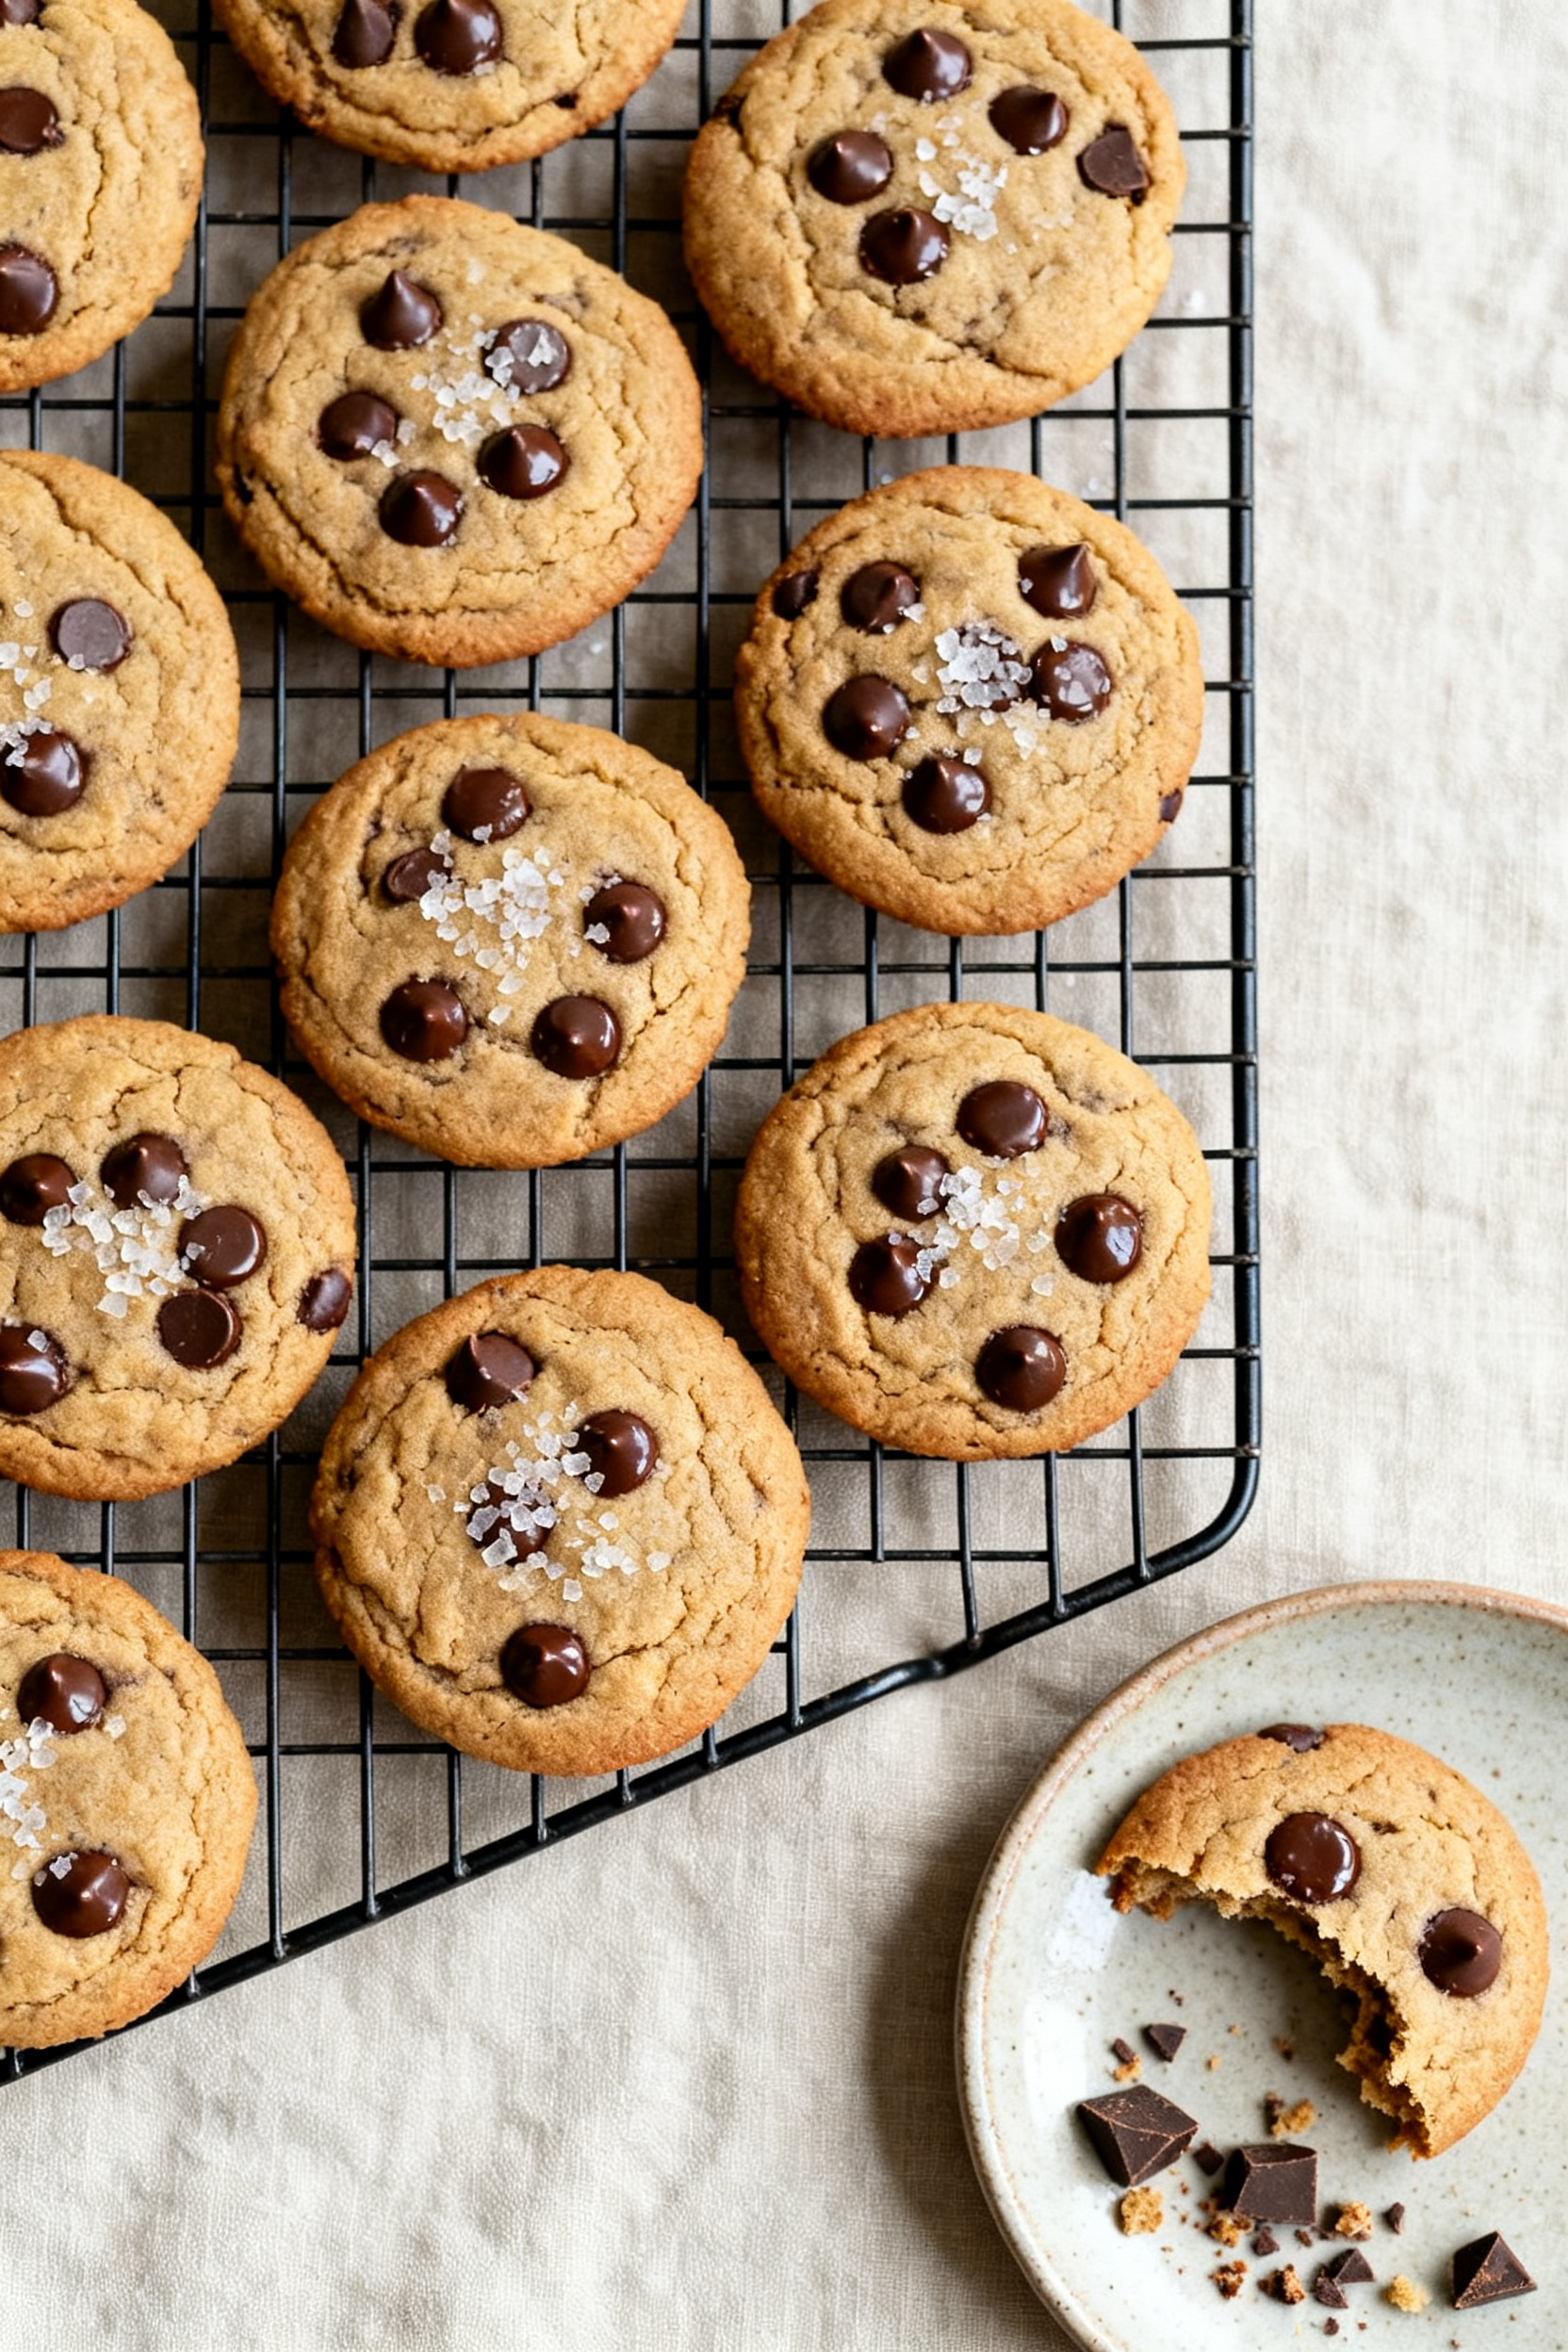
- Finish: Immediately after baking, press a few extra chocolate chips on top for a polished look. Sprinkle with flaky sea salt if you like that sweet-salty finish.
- Cool: Let cookies cool on the sheet for 5 minutes, then transfer to a rack. They’ll firm up as they cool, staying soft and chewy inside.
Tried this recipe?
Let us know how it was!What Makes This Recipe So Good
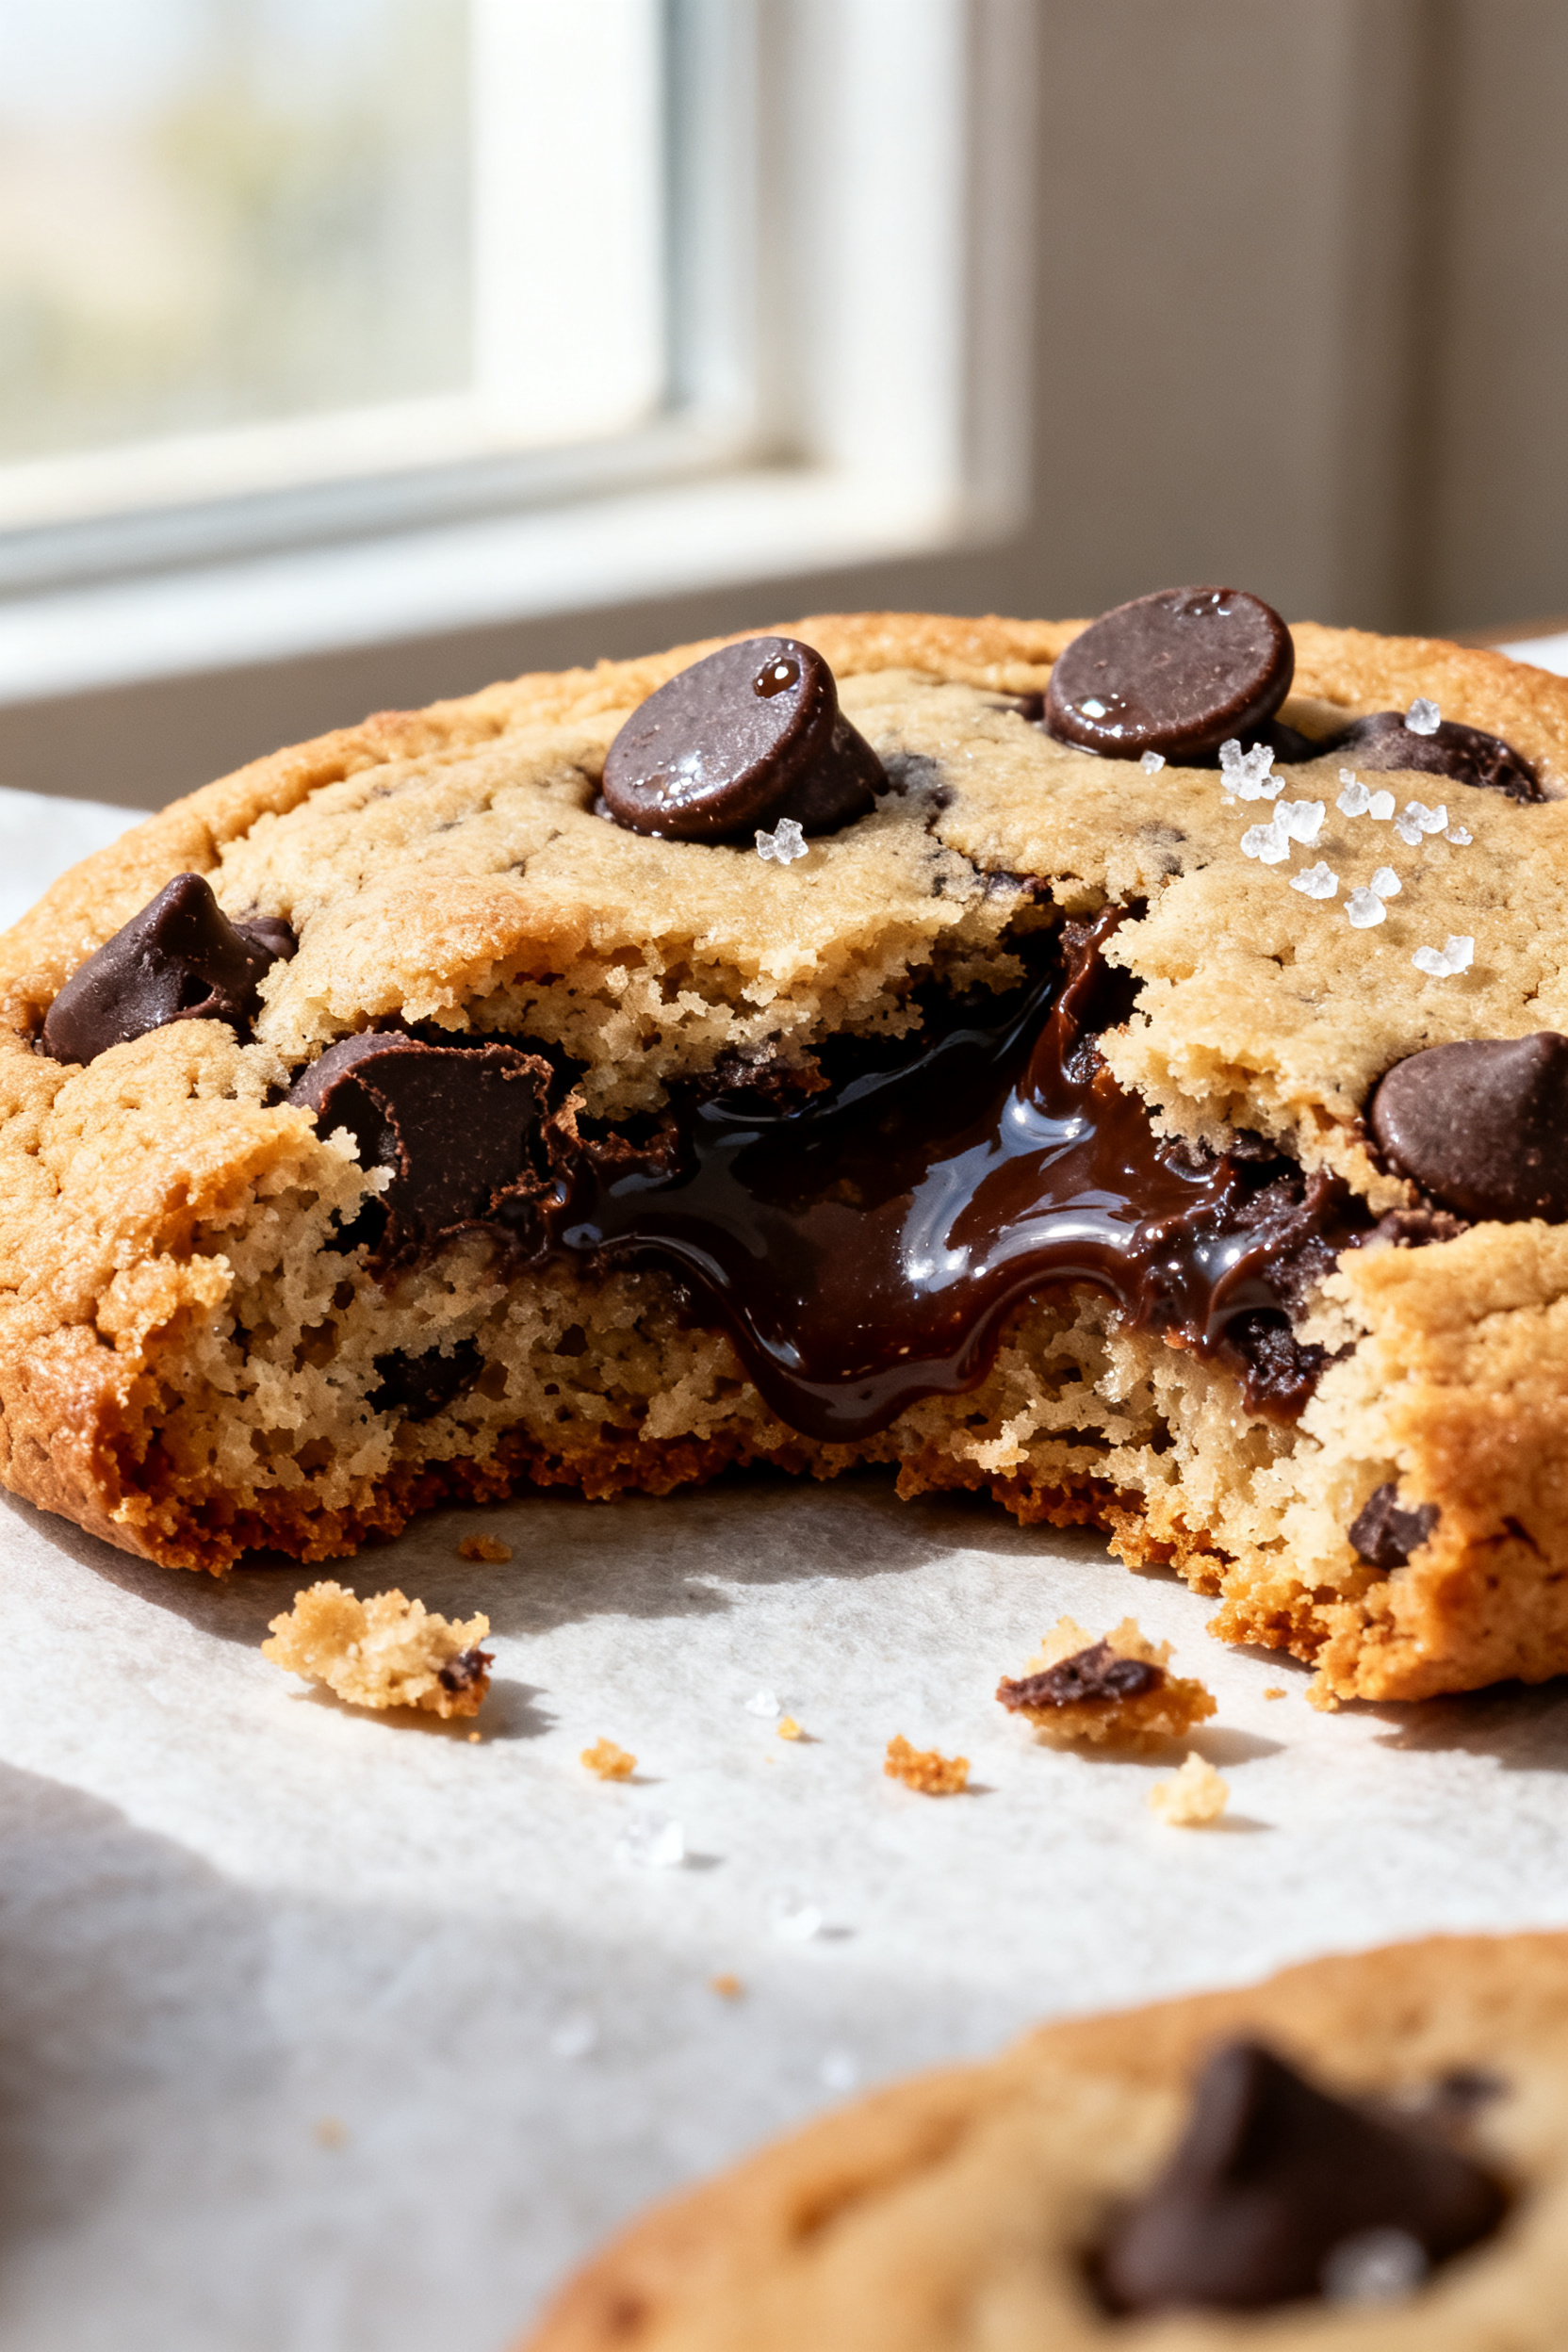
- Texture you crave: Soft centers, chewy bite, and slightly crisp edges—the best of all worlds.
- Browned-butter flavor without the fuss: Using melted butter (not browned) brings rich flavor and faster mixing while keeping things simple.
- Chill optional: You’ll get great cookies without chilling, but a short rest can enhance thickness and flavor.
- Bakery-style look: A quick mid-bake “pan bang” and extra chips on top create that gorgeous, crinkly surface.
- Foolproof ratios: The sugar blend, extra yolk, and a touch of cornstarch keep them tender and chewy.
Shopping List
- All-purpose flour (2 1/4 cups)
- Cornstarch (2 teaspoons)
- Baking soda (1 teaspoon)
- Kosher salt (3/4 teaspoon; use 1/2 teaspoon if using table salt)
- Unsalted butter (3/4 cup, melted and slightly cooled)
- Light brown sugar (1 cup, packed)
- Granulated sugar (1/2 cup)
- Large egg (1)
- Large egg yolk (1)
- Pure vanilla extract (2 teaspoons)
- Chocolate chips or chunks (1 1/2 to 2 cups; mix of semisweet and dark is ideal)
- Flaky sea salt (optional, for topping)
Instructions
- Prep and line: Heat oven to 350°F (175°C). Line two baking sheets with parchment paper. This keeps cookies from spreading too much and makes cleanup easy.
- Mix dry ingredients: In a medium bowl, whisk flour, cornstarch, baking soda, and salt until well combined.
Set aside.
- Combine wet ingredients: In a large bowl, whisk melted, slightly cooled butter with brown sugar and granulated sugar until glossy and smooth, about 30–45 seconds. Whisk in the egg, egg yolk, and vanilla until the mixture looks thick and creamy.
- Add dry to wet: Use a spatula to fold the dry ingredients into the wet mixture just until a few flour streaks remain. Don’t overmix or you’ll lose that soft, chewy texture.
- Stir in chocolate: Fold in the chocolate chips or chunks.
The dough will be thick and scoopable.
- Optional rest: For thicker cookies and deeper flavor, rest the dough 20–30 minutes at room temperature. Not required, but recommended if you have time.
- Scoop: Use a 2-tablespoon scoop (generous) or roll into golf-ball-sized rounds. Space them 2 inches apart on the prepared sheets.
- Bake: Bake 9–11 minutes, until edges are set and lightly golden but centers still look soft and slightly underdone.
For bakery-style ripples, gently lift the tray a couple inches and let it drop on the oven rack at minute 8, then continue baking.
- Finish: Immediately after baking, press a few extra chocolate chips on top for a polished look. Sprinkle with flaky sea salt if you like that sweet-salty finish.
- Cool: Let cookies cool on the sheet for 5 minutes, then transfer to a rack. They’ll firm up as they cool, staying soft and chewy inside.
Storage Instructions
- Room temperature: Store baked cookies in an airtight container for 3–4 days.
Slip in a slice of bread to keep them soft.
- Freezer (dough): Scoop dough balls onto a tray, freeze until solid, then transfer to a freezer bag for up to 2 months. Bake from frozen at 350°F, adding 1–2 minutes.
- Freezer (baked): Freeze fully cooled cookies in a single layer, then bag. Thaw at room temperature or warm in a 300°F oven for 3–5 minutes.
Benefits of This Recipe
- Consistent results: The ingredient ratios are tested for chewy centers without flat, greasy spread.
- Quick and simple: No stand mixer, no room-temp butter needed.
Melted butter speeds up prep.
- Flexible sweetness: Balanced brown and white sugar keeps them flavorful without being cloying.
- Customizable: Works with chips, chunks, nuts, or add-ins while holding structure.
- Better-than-bakery texture: That just-baked softness stays for days when stored right.
Pitfalls to Watch Out For
- Overbaking: Pull them when centers still look slightly underdone. They finish cooking on the sheet.
- Hot butter trap: If your butter is too hot, it can melt the sugar oddly and make greasy, flat cookies. Let it cool to lukewarm before mixing.
- Heavy-handed flour: Scooping flour directly from the bag packs it in.
Spoon and level for accuracy, or weigh it (about 280 g for 2 1/4 cups).
- Skipping salt: A little salt sharpens the chocolate and balances sweetness. Don’t omit it.
- Overmixing: Stir just until combined after adding flour. Extra mixing builds gluten and toughens cookies.
Recipe Variations
- Brown butter twist: Brown the butter, cool to room temp, and proceed.
Expect a deeper, nutty flavor and slightly denser dough.
- Chunky deluxe: Use half chips, half chopped dark chocolate for melty pools and varied texture.
- Nutty crunch: Fold in 3/4 cup toasted pecans or walnuts. Add at the same time as the chocolate.
- Espresso boost: Add 1–2 teaspoons instant espresso to the sugars for a mocha vibe that enhances chocolate.
- Peanut butter swirl: Marble in 1/3 cup peanut butter just before scooping. Don’t fully mix—streaks are the goal.
- Gluten-free swap: Use a 1:1 gluten-free baking blend with xanthan gum.
Add 1 extra teaspoon milk if dough seems dry.
- Big bakery cookies: Scoop 1/4 cup portions and bake 12–14 minutes. Pan-bang twice (at minutes 8 and 10) for ripples.
FAQ
Do I need to chill the dough?
Chilling isn’t required, but a 20–30 minute rest helps the flour hydrate and slightly thickens the cookies. If your kitchen is warm or you want taller cookies, chilling is helpful.
Why use both brown and white sugar?
Brown sugar adds moisture, chew, and caramel notes, while white sugar helps edges crisp and supports spread.
The balance gives that soft-chewy middle with lightly crisp edges.
Can I reduce the sugar?
You can trim total sugar by about 2–3 tablespoons without major changes. More than that can alter texture, spread, and browning. If cutting back more, expect drier, puffier cookies.
What chocolate works best?
A mix of semisweet and dark (about 60–70% cacao) creates depth without being too bitter.
Chips hold shape; chunks melt into gooey pockets. Use what you enjoy eating.
How do I make them thicker?
Chill the scooped dough 30–60 minutes, add 1 extra tablespoon flour to the dough, and bake on a cool, heavy sheet. Pull them when the edges set but centers still look soft.
Why did my cookies spread too much?
Common causes are hot butter, too little flour, or a warm baking sheet.
Let butter cool, measure flour accurately, and use fully cooled trays for each batch.
Can I make them smaller or larger?
Yes. For small cookies, use a 1-tablespoon scoop and bake 7–9 minutes. For large bakery-style, use 1/4 cup portions and bake 12–14 minutes, watching for set edges.
Wrapping Up
These soft, chewy chocolate chip cookies are simple, reliable, and wildly satisfying.
With a few smart tricks—melted butter, cornstarch, and the right bake time—you’ll get bakery-level results at home. Keep a bag of frozen dough balls on hand, and you’re always 12 minutes away from warm, gooey perfection. Happy baking!
Discover More Delicious Ideas 🍽️
If you need dinner inspiration for busy evenings, explore our
Dinner Recipes category.
If you’re craving delicious chicken meals, browse our
Chicken Recipes category.
If you need dinner on the table fast, explore our
Quick & Easy category.
If you’re craving new flavors, take a look at our
World Cuisine category.
If you want something lighter but still satisfying, visit our
Healthy & Light category.
If you’re in the mood for a treat, find something sweet in our
Sweets & Desserts category.
If you like to plan ahead, get inspired in our
Meal Prep & Planning category.
If you’re keeping it low carb and still want satisfying meals, explore our
Keto Weight Loss category.
If you’re looking for detox drinks, smoothies, or kid-friendly blends, browse our
Juices & Smoothies category.
If you want to see the kitchen tools and gadgets I personally use for cooking and meal prep, visit my
My Kitchen Essentials page.
Or explore everything in one place in
All Recipes.
Printable Recipe Card
Want just the essential recipe details without scrolling through the article? Get our printable recipe card with just the ingredients and instructions.