
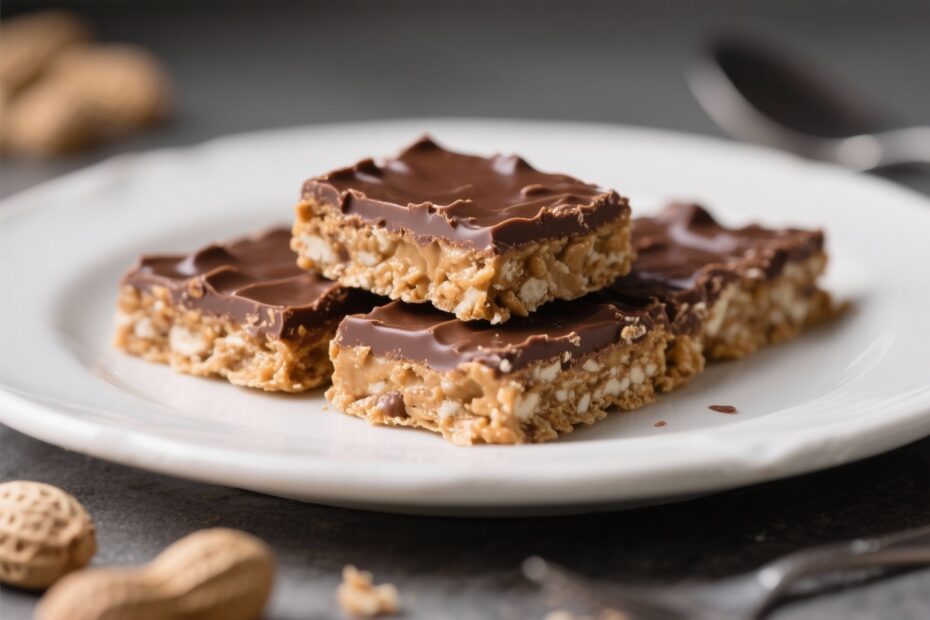
These No-Bake Chocolate Peanut Butter Bars taste like a classic candy bar but come together with pantry staples and almost no effort. They’re rich, creamy, and layered with a smooth chocolate topping that sets beautifully in the fridge. No oven, no special tools, and no fuss.
If you love the chocolate and peanut butter combo, this recipe hits the sweet spot—perfect for parties, lunchbox treats, or a late-night craving. You’ll be surprised how quickly they disappear.
What Makes This Special
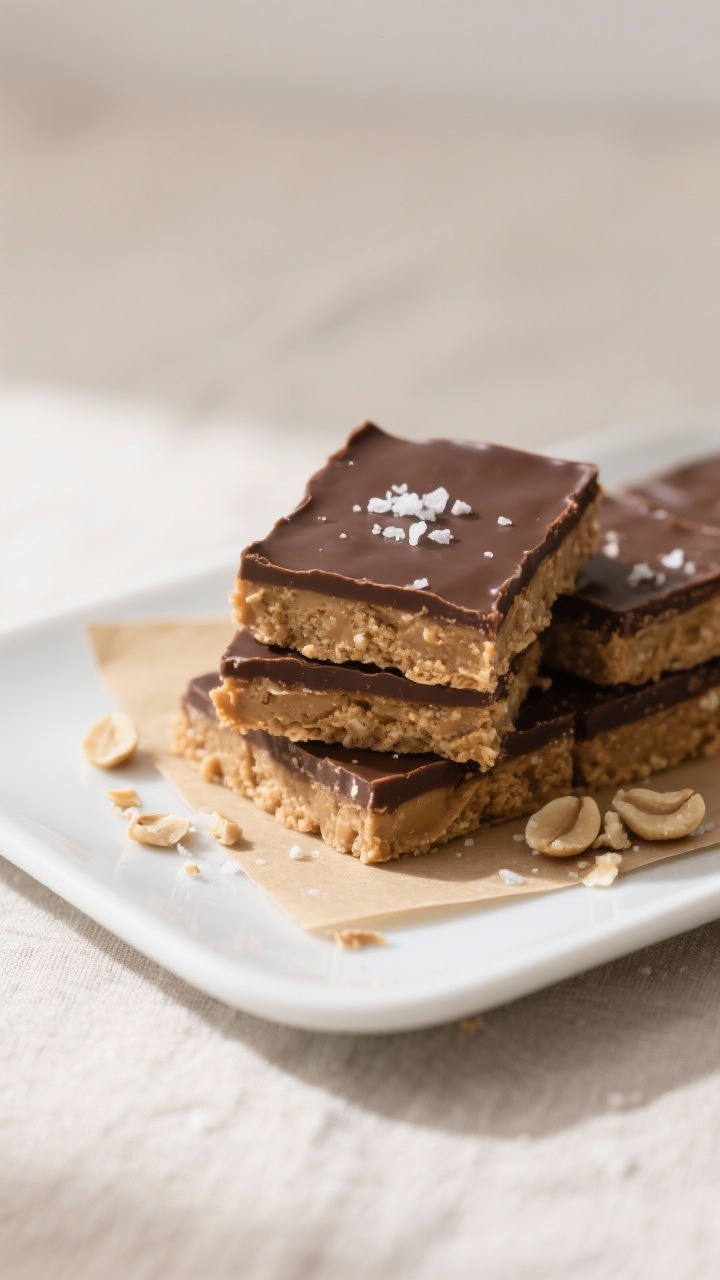
These bars deliver a dessert that’s fast, foolproof, and crowd-pleasing. The base has a buttery, slightly salty peanut butter bite that pairs perfectly with a glossy chocolate layer on top.
The texture is spot on: soft and fudgy underneath, firm and snappy on top. They’re also no-bake, so you avoid the stress of timing and oven temperatures. Plus, the recipe is flexible—you can tweak sweetness, swap ingredients, or scale it up for a bigger batch.
Ingredients
- 1 cup (225 g) unsalted butter, melted
- 2 cups (200 g) graham cracker crumbs (or digestive biscuit crumbs)
- 2 cups (240 g) powdered sugar
- 1 cup (260 g) creamy peanut butter (plus 2 tablespoons for the topping, optional)
- 1 teaspoon vanilla extract
- 1/4 teaspoon fine salt (skip if your peanut butter is salted)
- 1 1/2 cups (270 g) semi-sweet chocolate chips (or chopped chocolate)
- 1 tablespoon neutral oil (like canola or coconut) for smoother chocolate topping
How to Make It
- Prep your pan. Line an 8×8-inch (20×20 cm) square pan with parchment paper, leaving overhang on two sides for easy lifting.
Lightly grease the parchment for clean slices.
- Combine the dry base. In a large bowl, stir together graham cracker crumbs and powdered sugar until evenly mixed and lump-free.
- Mix the peanut butter base. Add melted butter, 1 cup peanut butter, vanilla, and salt. Stir until the mixture is smooth and thick, like a soft dough. It should hold together when pressed.
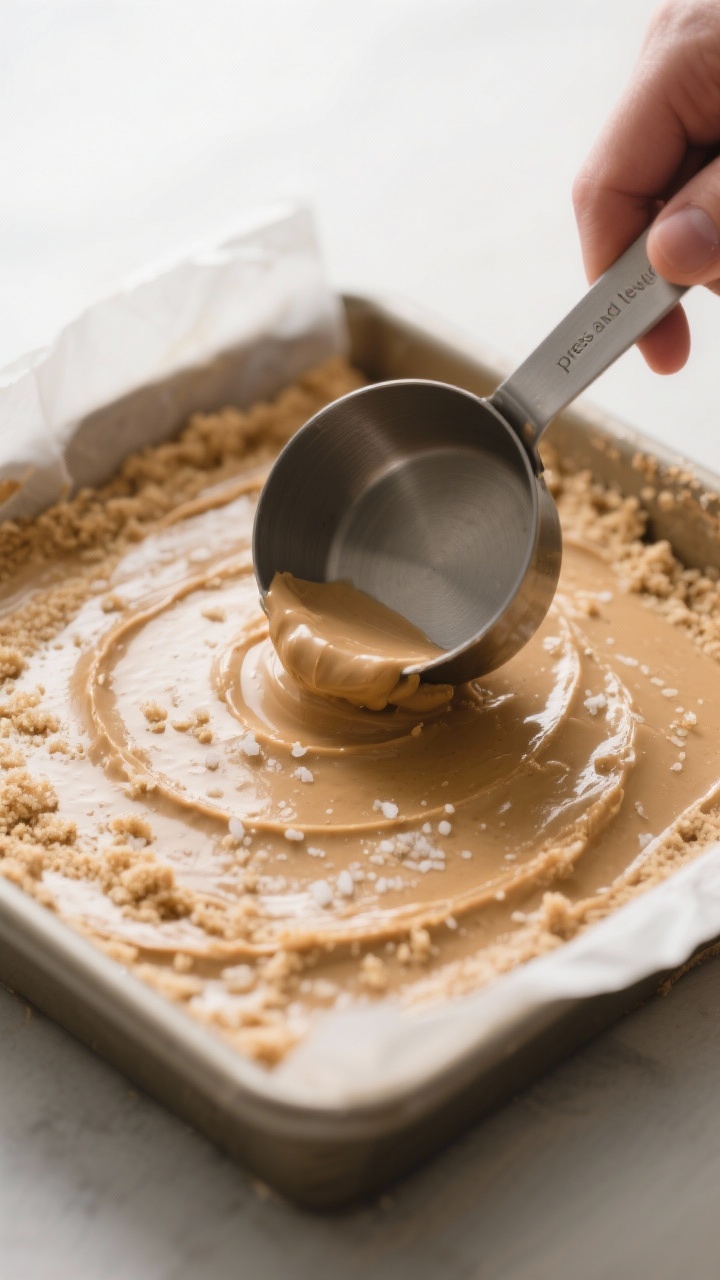
- Press and level. Transfer the peanut butter mixture to the prepared pan.
Press it firmly into an even layer using a spatula or the bottom of a measuring cup. Pack it tight for a clean bite.
- Melt the chocolate. In a microwave-safe bowl, combine chocolate chips and oil. Microwave in 20–30 second bursts, stirring after each, until smooth and glossy.
Alternatively, melt over a double boiler.
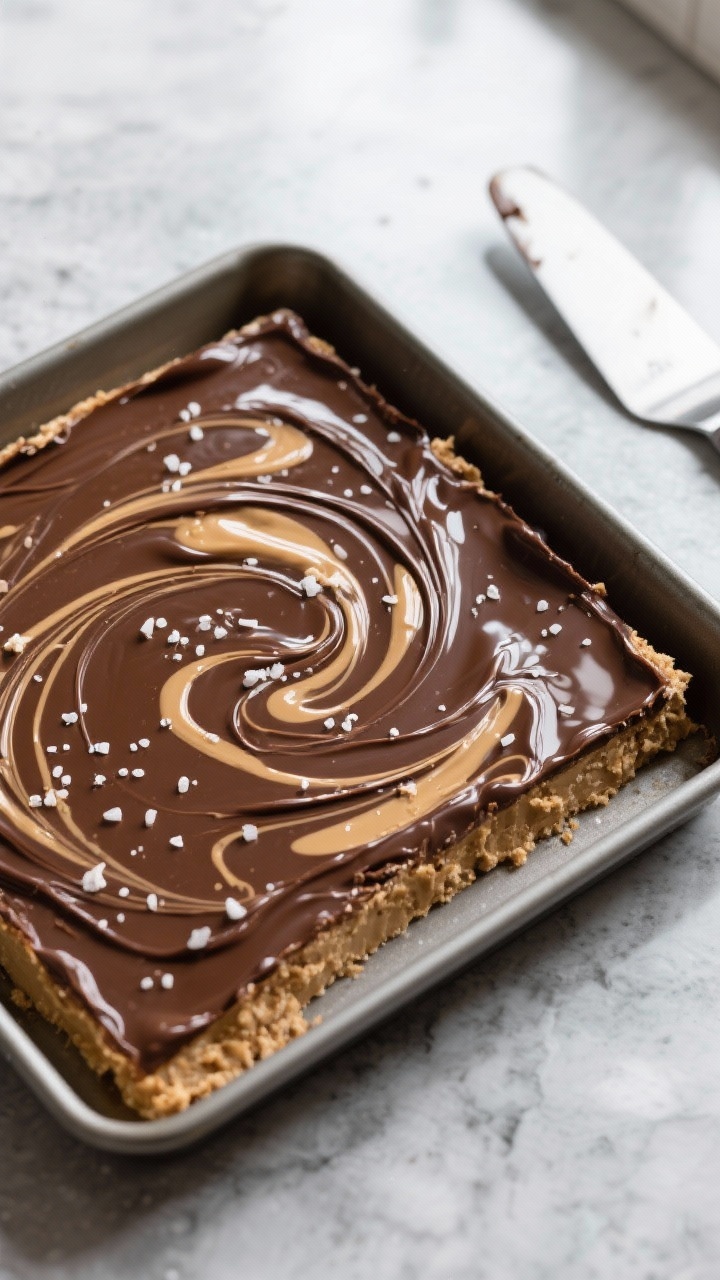
- Optional swirl. For a peanut butter swirl, stir 2 tablespoons of peanut butter into the melted chocolate in streaks. Don’t fully mix—just swirl lightly.
- Top the base. Pour the melted chocolate over the peanut butter layer. Tilt the pan or use an offset spatula to spread it evenly.
Tap the pan gently to release air bubbles.
- Chill to set. Refrigerate for at least 2 hours, or until the chocolate is firm and the base is set.
- Slice smart. Lift the block out using the parchment. For clean edges, warm a sharp knife under hot water, dry it, and cut into squares or bars. Wipe the blade between cuts.
- Serve or store. Enjoy immediately or pack into an airtight container.
Keep chilled for best texture.
Keeping It Fresh
These bars hold up well. Store them in an airtight container in the fridge for up to 1 week. If stacking, place parchment between layers to prevent sticking.
For longer storage, freeze for up to 2 months. Thaw in the fridge for a few hours before serving. If you like a softer bite, let them sit at room temperature for 10 minutes before eating.
Health Benefits
This is still a treat, but there are a few upsides.
Peanut butter provides protein, healthy fats, and fiber, which can help you feel satisfied. Dark or semi-sweet chocolate brings antioxidants. If you use a natural peanut butter and cut back on the sugar a bit, you can make a version that’s less sweet but still indulgent.
For gluten-free needs, go with certified gluten-free cookie crumbs. Just remember portion size—these bars are rich.
Common Mistakes to Avoid
- Crumbly base. If the mixture looks dry or sandy, add a tablespoon of melted butter or peanut butter and mix again. It should press together easily.
- Greasy layer separation. Overly oily peanut butter can cause the layers to separate.
Stir natural peanut butter well before measuring, or use a no-stir variety.
- Chocolate cracking. Slicing straight from the fridge can crack the top. Warm your knife and make gentle, confident cuts.
- Overheating chocolate. Burnt chocolate turns grainy. Melt in short bursts and stir frequently, stopping when just smooth.
- Too sweet or too bland. Taste the base before pressing it into the pan.
Adjust with a pinch of salt or a little extra peanut butter to balance sweetness.
Alternatives
- Gluten-free: Use gluten-free graham crackers or almond flour. If using almond flour, start with 1 3/4 cups and add more as needed for a pressable texture.
- Lower sugar: Reduce powdered sugar to 1 1/2 cups and use 70% dark chocolate. Expect a deeper, less sweet flavor.
- Crunchy swap: Use crunchy peanut butter or stir in 1/2 cup chopped peanuts into the base for texture.
- Flavor twist: Add 1/2 teaspoon cinnamon or espresso powder to the base for a subtle lift.
A pinch of flaky sea salt on top also pops.
- Dairy-free/vegan: Use plant-based butter and dairy-free chocolate chips. Check labels to be sure.
- Nut-free: Try sunflower seed butter or tahini. Taste and adjust sugar and salt since these can be slightly more bitter.
- Larger batch: Double the recipe and use a 9×13-inch pan.
Chill a bit longer to set.
FAQ
Can I make these without graham crackers?
Yes. Digestive biscuits, vanilla wafers, or gluten-free cookies work well. For a more wholesome option, use almond flour or finely crushed oats, then adjust butter slightly until the base presses together smoothly.
Why is my chocolate layer soft at room temperature?
Chocolate chips are formulated to hold shape, but added oils, warm rooms, or too much peanut butter in the topping can soften the set.
Use less oil, choose higher-cocoa chocolate, and keep the bars chilled until serving for best results.
How do I keep the layers from separating?
Pack the base firmly and let it chill for 10 minutes before adding chocolate. Make sure the chocolate isn’t piping hot when you pour it on. A quick chill sets both layers together.
Can I use natural peanut butter?
Absolutely, but stir it thoroughly to incorporate any separated oil.
If the base seems too loose, add a bit more graham crumbs or a tablespoon of powdered sugar until it holds shape.
What’s the best way to slice cleanly?
Warm a sharp knife under hot water, dry it, and make steady cuts. Wipe the blade between slices. If your kitchen is very cold, let the bars sit out for a few minutes before cutting.
Do these travel well?
Yes, with a cooler or ice packs.
The chocolate can soften in heat, so transport chilled and keep out of direct sunlight. Use parchment between layers in a container to prevent sticking.
Can I add toppings?
Definitely. Sprinkle crushed peanuts, flaky sea salt, mini chocolate chips, or a drizzle of melted peanut butter on top before chilling.
Keep toppings light so the chocolate sets flat.
How sweet are these?
They’re sweet but balanced by the salt and chocolate. If you prefer less sweetness, reduce the powdered sugar slightly and use darker chocolate. Taste the base before pressing and adjust to your liking.
Final Thoughts
No-Bake Chocolate Peanut Butter Bars are the kind of dessert that makes you look like a pro with hardly any effort.
They’re simple to customize, easy to store, and always a hit. Keep the ingredients on hand, and you can have a batch ready anytime a craving strikes or guests pop in. One pan, minimal dishes, and big payoff—what’s not to love?

Ingredients
Method
- Prep your pan. Line an 8x8-inch (20x20 cm) square pan with parchment paper, leaving overhang on two sides for easy lifting. Lightly grease the parchment for clean slices.
- Combine the dry base. In a large bowl, stir together graham cracker crumbs and powdered sugar until evenly mixed and lump-free.
- Mix the peanut butter base. Add melted butter, 1 cup peanut butter, vanilla, and salt. Stir until the mixture is smooth and thick, like a soft dough. It should hold together when pressed.
- Press and level. Transfer the peanut butter mixture to the prepared pan. Press it firmly into an even layer using a spatula or the bottom of a measuring cup. Pack it tight for a clean bite.
- Melt the chocolate. In a microwave-safe bowl, combine chocolate chips and oil. Microwave in 20–30 second bursts, stirring after each, until smooth and glossy. Alternatively, melt over a double boiler.
- Optional swirl. For a peanut butter swirl, stir 2 tablespoons of peanut butter into the melted chocolate in streaks. Don’t fully mix—just swirl lightly.
- Top the base. Pour the melted chocolate over the peanut butter layer. Tilt the pan or use an offset spatula to spread it evenly. Tap the pan gently to release air bubbles.
- Chill to set. Refrigerate for at least 2 hours, or until the chocolate is firm and the base is set.
- Slice smart. Lift the block out using the parchment. For clean edges, warm a sharp knife under hot water, dry it, and cut into squares or bars. Wipe the blade between cuts.
- Serve or store. Enjoy immediately or pack into an airtight container. Keep chilled for best texture.
Tried this recipe?
Let us know how it was!Discover More Delicious Ideas 🍽️
If you need dinner inspiration for busy evenings, explore our
Dinner Recipes category.
If you’re craving delicious chicken meals, browse our
Chicken Recipes category.
If you need dinner on the table fast, explore our
Quick & Easy category.
If you’re craving new flavors, take a look at our
World Cuisine category.
If you want something lighter but still satisfying, visit our
Healthy & Light category.
If you’re in the mood for a treat, find something sweet in our
Sweets & Desserts category.
If you like to plan ahead, get inspired in our
Meal Prep & Planning category.
If you’re keeping it low carb and still want satisfying meals, explore our
Keto Weight Loss category.
If you’re looking for detox drinks, smoothies, or kid-friendly blends, browse our
Juices & Smoothies category.
If you want to see the kitchen tools and gadgets I personally use for cooking and meal prep, visit my
My Kitchen Essentials page.
Or explore everything in one place in
All Recipes.
Printable Recipe Card
Want just the essential recipe details without scrolling through the article? Get our printable recipe card with just the ingredients and instructions.